A friend asked me to bake a surprise cake for her husband's birthday - a chocolate ice cream cake (a combination of two of his favourite sweets). Harry's birthday was on the day of our Roadshow dress rehearsal, and as they are new in our area, and no one knew it was his birthday, she though it would be fun to have a little surprise party for him before we began our rehearsal. Well, you know what they say about best laid plans...
The cake has 8 layers - from the bottom: moist chocolate sponge cake, vanilla ice cream, oreo crumbles, milk chocolate ice-cream, chocolate fudge ganache, vanilla ice cream, moist chocolate sponge, chocolate fudge ganache, and is topped with stabilised whipped cream decoration. Recipe below.

Unfortunately, Harry never got his surprise. My friend was involved in a car accident on the way home to fetch Harry and bring him to the rehearsal (she was thankfully uninjured, though her car wasn't as lucky!) Because the cake was ice cream and the freezer at the church far too small to accommodate it, we ended up having to eat it without them!! But not before making a video of us all singing to him beside it. We did manage to get a couple of pieces into the freezer though, so when they finally made it to us, after a very long and traumatic evening, they did get to enjoy it. I'm not sure what my friend was more upset about: spoiling her husbands surprise or the fact she was in an accident Lol. All well that ends well, just so glad that she came to no harm.
Chocolate Ice Cream Cake Recipe
Makes 10" square cake.
1. Bake the Moist Chocolate Cake
Ingredients:
3 cups Flour
3 cups Sugar
1 1/2 cup Cocoa
3 tsp Baking Soda
3 Large Eggs
1 tsp salt
1 1/2 cups Buttermilk
1 cup Sunflower Oil
2 tsp Vanilla
1 1/2 cup2 Boiling Water
Method:
Preheat oven to 145°C
Line and grease a 10" square cake tin.
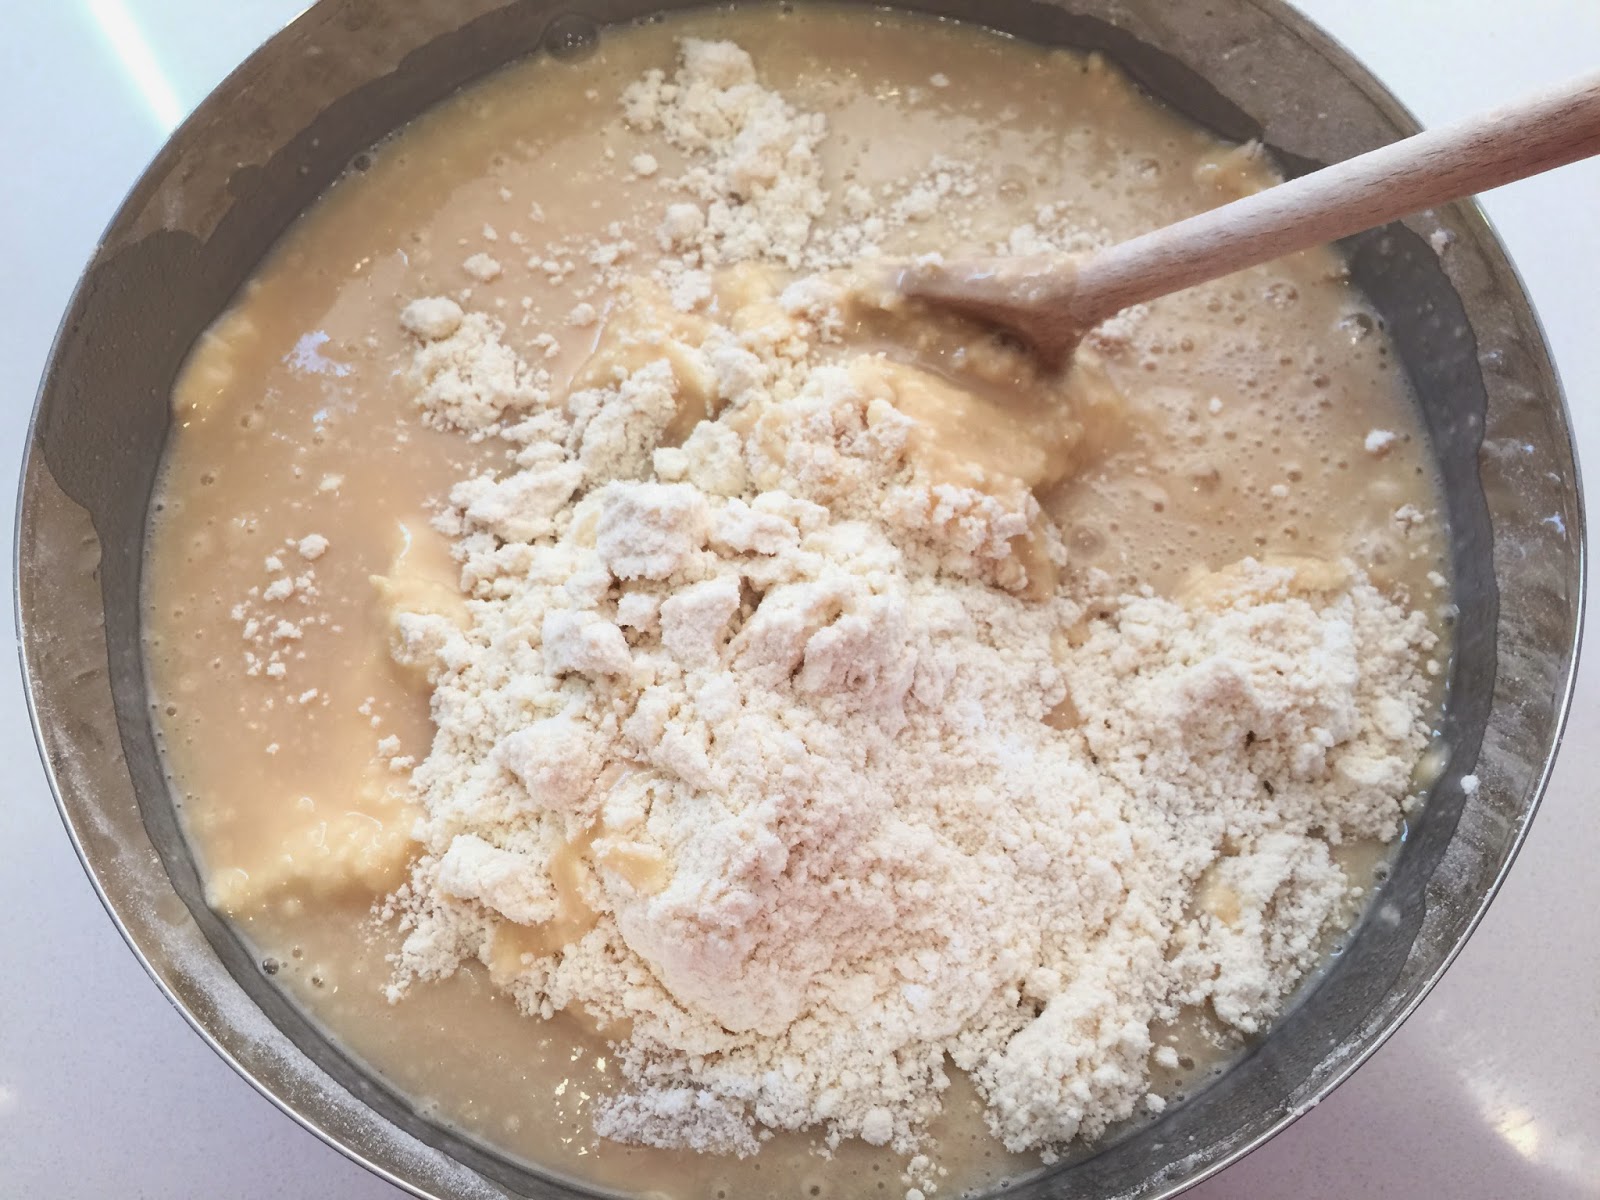
Combine all ingredients except for Boiling Water in a bowl. Mix just until smooth.
Add boiling water and mix immediately.
Bake for about 1 hour 15 mins until a skewer inserted comes out clean, and the cake has pulled away slightly
from the sides of the tin. The cake will be quite domed when it comes out the oven, but will sink back until it is almost flat as it cools.
When completely cool, divide cake in half horizontally to make 2 layers.
Clean the cake tin and line with parchment or cling film. Place a layer of the cake in the bottom of the tin and place in the freezer. Wrap the other half of the cake in cling film and freeze.
2. First Vanilla Ice Cream Layer and Oreo Crumble
Ingredients:
300g Milk
300g Cream
220g Sugar
2 Tbsp Vanilla
2 Packages Oreos
Method:
Combine milk, cream, sugar and vanilla and pour into prepared ice cream maker, churn until it reaches soft serve consistency.
Meanwhile, crush the Oreos in a food processor, or by bashing with a rolling pin while in a sturdy plastic bag. Mix about half of the churned ice cream into the crushed Oreos.
Spread the rest of the ice-cream onto the cake layer in the cake tin. Carefully spread the Oreo mixture on top of the ice cream layer.
Place in the freezer for at least an hour.
3. Make the Chocolate Fudge Ganache
Ingredients:
1 cup Double Cream
2/3 cup Corn Syrup
300g Milk Chocolate
200g Plain Chocolate
Method:
Break up chocolate. Place cream, corn syrup and chocolate in a microwave safe bowl and melt together in the microwave at 30 second intervals (800 W) stirring in between bursts. Be careful not to leave in the microwave for more than 30 seconds at a time, or the syrup may overheat and burn the chocolate. When almost all the chocolate has melted, stop heating in the microwave (there should still be some little lumps of chocolate. Keep stirring the mixture until all the chocolate has melted in and it becomes smooth and glossy. Set aside to cool.
4. Chocolate Ice Cream Layer
Ingredients:
300g Milk
300g Cream
220g Sugar
2 Tbsp Vanilla
3 Tbsp Cocoa Powder
Method:
Heat 100g of the milk to below boiling and dissolve the cocoa powder into it.
Add the rest of the milk, cream, sugar and vanilla and mix well. Pour into prepared ice cream maker and churn until it reaches soft serve consistency.
Spread the chocolate ice-cream on top of the Oreo layer in the cake tin. Return to the freezer for another hour.
Spread two thirds of the cooled chocolate fudge ganache on top of the chocolate ice cream in the cake tin. Return to the freezer while you do the next step.
5. Second Vanilla Ice Cream Layer
Make the vanilla ice cream as before (omitting the Oreo crumble). Spread all of the vanilla ice cream on top of the chocolate fudge layer in the tin.
Unwrap the left over chocolate cake layer (which is now frozen) and push it down on top of the vanilla ice cream layer in the cake tin.
Spread the rest of the chocolate fudge over the chocolate cake, smooth it out so that it looks good.
Place in the freezer for at least an hour.
6. Stabilised Whipped Cream Decoration
Ingredients:
1 cup double cream
50g icing sugar
1 1/2 tablespoons meringue powder
1/2 teaspoon vanilla
Method:
Sift icing sugar and meringue powder together.
Add vanilla to cream and beat on medium speed until it begins to thicken. Add sugar mixture to the cream and beat on medium until combined. Beat at high speed until stiff peaks form (be careful not to over beat and turn it into butter).
Using a piping bag, pipe the cream onto the top of the frozen cake however you desire. You can remove the cake from the tin and remove the parchment before piping the cream, or pipe it on while in the tin, and leave it in the tin until just before serving.
Return the cake to the freezer until ready to serve. The finished cake should stay in the freezer for 3-4 hours once complete to ensure it is well set before serving. I recommend to make the cake a day in advance. Left over cake should be returned to the freezer as quickly as possible.
If you would like to make the cake further in advance, complete the cake up to the end of stage 5 and leave the cake in the freezer until firmly set. Remove the cake from the cake tin, leaving parchment in place, and wrap in cling film. Store in freezer until needed (though recommend consuming within 30 days). Add the whipped cream decorations when required.
Happy Baking, and Happy Birthday Harry!!