
So, if you are anything like me, by the time you have shaped your cake sponges perfectly for the cake you are working on, you end up with a large pile of off cuts. Now, normally I would just eat them let my kids eat them, but when I saw cake pops appearing all over the place I realised that that would make much better use of those delicious scraps.

Grab your scraps and turn them to crumbs, I use my food processor, but it can be done by hand. Next mix in some buttercream icing, just enough so that when you roll some between your hands it forms a nice, firm ball. Too little and it will crumble, too much and it becomes sticky and too soft. I find that each batch uses a different ratio of cake crumbs to icing, depending on the moistness of the cake and softness of the icing.
Now roll your cake balls and set them down on grease proof paper on a tray, then stick them in a freezer for about half an hour. Each ball should be about the size of a large lollipop, or about 2 bites.

While they are firming up in the freezer, get the coating ready. I find candy melts work the best, but there are other products out there too, and you can, of course use chocolate too.

Once your coating is melted, and the cake balls chilled, dipping can commence. Start by inserting all the sticks into the cake balls. Dip the end of the stick into the candy coating then press it about 2/3 of the way into the cake ball. This helps the stick adhere to the cake ball so that it [hopefully] won't pull out when you pick the cake pop up.

Now dip the cake pop into the candy coating at an angle...

... and twirl it around slowly, until all the cake is completely covered.

Lift it out, continuing to twirl the pop around, gently, keeping it upside down until the coating has stopped dripping off and you have a nice even coating.

Bring the cake pop upright and continue to move it about until the coating just sets, but is still glossy and wet.

Insert it into a piece of polystyrene to keep it upright...

... and add sprinkles before the coating hardens.

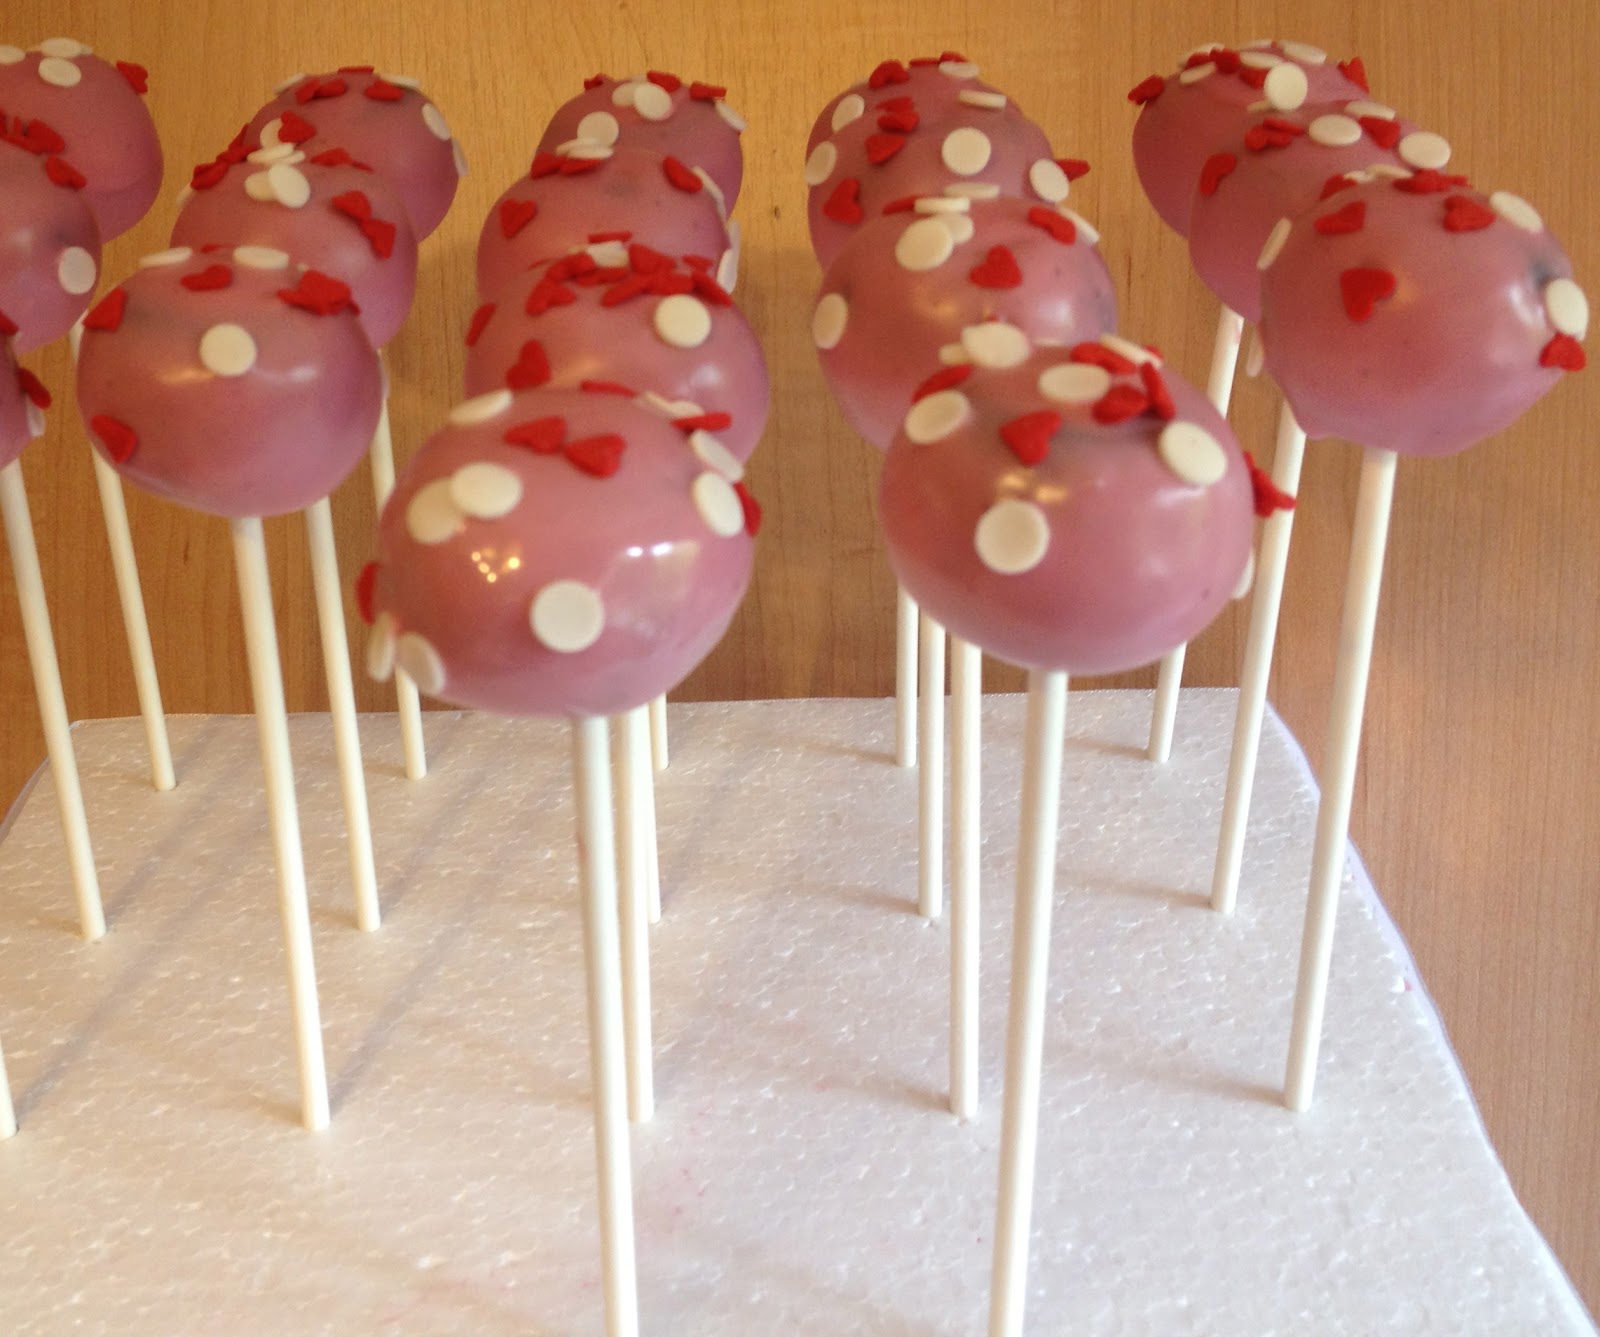

OK, you don't have to add sprinkles at all, but why wouldn't you?


