I watch a LOT of cooking and baking shows on TV, and one of my favourites is MasterChef Australia! Well, last week my BFF was coming over to do some baking with me; the day before she was coming, she told that she'd really like to make some banana ice cream as well. That night I sat down to watch MasterChef Australia, and what did they make? BANANA ICE CREAM! I mean, what are the chances? I have never made banana ice cream before, nor had any desire to do so - banana ice cream just does not appeal to me at all. I love bananas, but can't stand anything banana flavoured. Yuk. But what I saw them do on MasterChef made me curious. So, using MasterChef as inspiration, I made caramelised banana ice-cream with my friend. And you know what? IT IS DELICIOUS!!
How to Make Caramelised Banana Ice Cream
You will need:
Ingredients:
2 Medium Bananas
150g Light Brown Sugar
200ml Cream
200ml Milk
1/4 tsp Cinnamon
1/4 tsp Vanilla
Equipment:
Baking tray lined with silpat or teflon sheet
Spatula
Silicone Spatula
Measuring Jug and spoons
Small bowl
Blender or food processor
Ice Cream Machine (or you can make it manually, using a ceramic dish pre-chilled in the freezer)
Storage Container for Ice Cream
Oven
Method:
Set oven to 180ºC
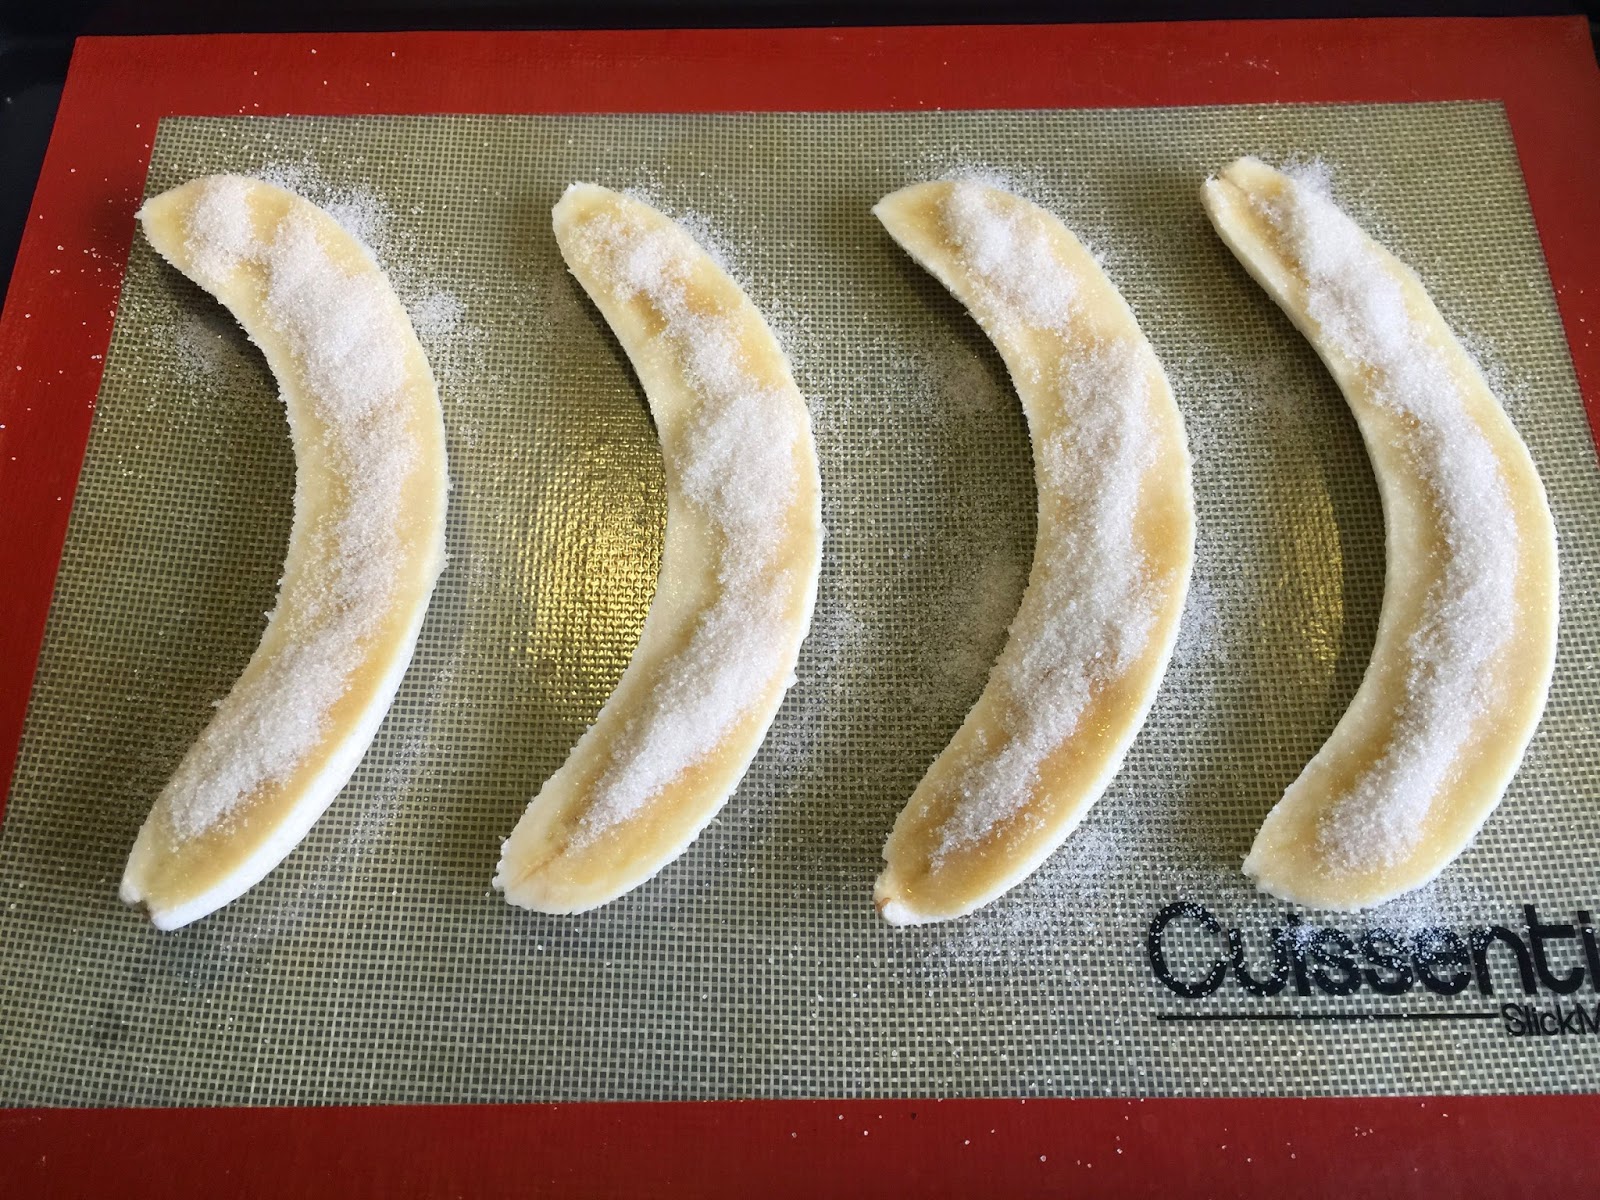
Peel the bananas and slice them in half lengthways. Lay them out on the lined baking tray, cut side up.
Sprinkle approximately 1/2 tablespoon of the sugar over each of the banana slices (~2 TBS total).
Bake in the oven for 30 minutes, until the sugar is nicely caramelised and the bananas looked a bit dried out.
Meanwhile, mix together the milk and cream.
Add the vanilla to the milk/cream mixture and add the cinnamon to the sugar.
Once the bananas and sugar are nicely caramelised and the bananas have lost some of their water content, remove them from the oven.
Scrape all the banana and sugar together with a spatula.
Add a little bit of the milk/cream to your blender (to stop the banana from sticking to the bottom),
then add the caramelised banana and sugar.
Blend until well combined.
Add the sugar and cinnamon,
and blend until nice and smooth.
Add the milk/cream a little bit at a time and blend between additions.
Once all the milk/cream has been added, the ice cream mixture is ready to churn.
Pour ice cream mixture into ice cream machine and churn (as per instructions for your machine).
Once ice cream has frozen and thickened up to soft serve consistency, scoop into storage container and place in freezer until fully set.
Manual Instructions: Chill ice-cream mixture in the fridge or over an ice bath. Pour cold ice cream mixture into pre-chilled ceramic dish and put it in the freezer for about 45 minutes. Remove from freezer and mix it up vigorously and thoroughly. Place back in freezer and remix every 30 minutes until it reaches soft serve consistency. Transfer to storage container and keep in freezer until fully set.
Delicious with a drizzle of chocolate sauce!
Ingredients:
2 Medium Bananas
150g Light Brown Sugar
200ml Cream
200ml Milk
1/4 tsp Cinnamon
1/4 tsp Vanilla
Equipment:
Baking tray lined with silpat or teflon sheet
Spatula
Silicone Spatula
Measuring Jug and spoons
Small bowl
Blender or food processor
Ice Cream Machine (or you can make it manually, using a ceramic dish pre-chilled in the freezer)
Storage Container for Ice Cream
Oven
Method:
Set oven to 180ºC
Peel the bananas and slice them in half lengthways. Lay them out on the lined baking tray, cut side up.
Sprinkle approximately 1/2 tablespoon of the sugar over each of the banana slices (~2 TBS total).
Bake in the oven for 30 minutes, until the sugar is nicely caramelised and the bananas looked a bit dried out.
Meanwhile, mix together the milk and cream.
Add the vanilla to the milk/cream mixture and add the cinnamon to the sugar.
Once the bananas and sugar are nicely caramelised and the bananas have lost some of their water content, remove them from the oven.
Scrape all the banana and sugar together with a spatula.
Add a little bit of the milk/cream to your blender (to stop the banana from sticking to the bottom), then add the caramelised banana and sugar. Blend until well combined.
Add the sugar and cinnamon and blend until nice and smooth.
Add the milk/cream a little bit at a time and blend between additions.
Pour ice cream mixture into ice cream machine and churn (as per instructions for your machine).
Once ice cream has frozen and thickened up to soft serve consistency, scoop into storage container and place in freezer until fully set.
Manual Instructions: Chill ice-cream mixture in the fridge or over an ice bath. Pour cold ice cream mixture into pre-chilled ceramic dish and put it in the freezer for about 45 minutes. Remove from freezer and mix it up vigorously and thoroughly. Place back in freezer and remix every 30 minutes until it reaches soft serve consistency. Transfer to storage container and keep in freezer until fully set.