Monday 23 February 2015

Melting Moments Cookies & Choices {Recipe}


Melting Moments are crisp, shortbread-like cookies that are tender to the bite, a little crunchy, but then melt away in your mouth. They are simple, unassuming little cookies, but definitely moreish! And I think they look rather pretty with the bright red cherry in the middle!

I had a bit of fun with these cookies. I made a big batch for my Young Women lesson at church on Sunday - everyone really enjoyed them at the end of the lesson, and we had the Young Men appearing at the door looking for their share too.


Some of the cookies however, had a little extra, not so welcome ingredient - dirt. I presented a platter of dirt infused cookies at the beginning of the lesson and gave the girls a choice, they could eat a cookie if they wanted to, but I made them aware that there was just a little bit of dirt in each one. Only a tiny bit of dirt though, it probably wouldn't even really be noticeable if you were to eat the cookie, the few tiny visible specks could surely be ignored - the cookies still looked really yummy. Unsurprisingly, they did not rush to eat them. I then compared eating the contaminated cookies with making choices to do things that were mostly OK, hoping that the tiny little bits of 'bad' involved in those choices wouldn't affect them.

If you would like to make your own Melting Moments, here is the recipe (don't worry, I left the dirt out ;)
Melting Moments       PRINT
Makes 30 cookies

Ingredients:

225g butter - room temperature
175g caster sugar
2 large egg yolks
1 TBSP vanilla
270g plain flour
1 1/2 tsp baking powder
1/4 tsp salt

60g rolled oats

15 red glacé cherries

Method:

Pre-heat oven to 180ºC
Line 2 baking trays with baking paper or silpats.

Beat butter, sugar, egg yolks and vanilla together. Add the flour, baling powder and salt and beat in until you get a smooth batter.

Spread the rolled oats out on a plate.


Scoop out about a 1 1/2 inch ball of dough (either with two table spoons or with a small ice cream scoop), and drop it onto the rolled oats.
My little ice cream scoop measures 1 1/2" across, I use it for all of my drop cookies, like chocolate chip cookies and snickerdoodles. It's just the right size and using it means that my cookies all come out uniform in size and shape.


Roll the ball of batter around until it is coated in oats.


Place on a baking tray and flatten slightly, then top with half a glacé cherry.


Repeat until all the dough is used up - you should get about 30 cookies - 15 on each baking tray. Ensure there is space around each cookie to spread out when cooking, about 1 1/2” space between cookies is enough.
Bake for 18-20 minutes, until just going golden around the edges.

Leave to cool on the baking tray for a few minutes, then lift onto a cooling rack to cool completely.

Best eaten within 48 hours.


Happy Baking!

Friday 20 February 2015

Pink and Purple Girly Cake


One of my Young Women (at church) have a birthday this week, so she came over to my house and we made a cake for her together over the last couple of days.


She learned some new skills and we had a great time working together!


I love the silk-like finish of painting a cake with cluster dust!


This is how it looked before it got covered up with all the pink. I will definitely be using this technique again, so pretty.


Aimee LOVES pink, so we had to cram as much pink on the cake as we possibly could. I think we got the final cake pretty close to the design too.


The cake is chocolate (8" bottom, 6" top), filled with chocolate buttercream and coated with chocolate ganache before being covered in fondant and decorated.


Aimee aslo loves my Gingerbread Cookies, so she made a big batch, under my supervision, with a healthy helping of royal icing on top!


Didn't she do a great job on those cookies?


Monday 16 February 2015

Pancake Tuesday! {Recipes}

In many countries, tomorrow is PANCAKE DAY!

Shrove Tuesday, the last day before Lent, is celebrated by many Christians. Before beginning a 40 day fast leading up to Easter, a day of indulgence, in foods that will be given up for the fast, is enjoyed, using up ingredients that would otherwise become wasted. Pancakes are traditionally eaten on this day because they contain fat, eggs and milk - all foods usually given up for the fast.

While we don't celebrate Lent, we do join in enthusiastically in celebrating Pancake Day. The biggest problem in my household however is, what kind of pancakes do we eat?

Do we go for thick fluffy American style pancakes, eaten with butter and lashings of syrup?


Or do we make English Crepes, traditionally served with sugar and lemon juice in England, or cinnamon sugar and lemon juice in South Africa?


It's a tough choice! I generally tend to lean towards the stack of American pancakes, and make a beautiful fruit syrup to pour over them (usually blueberry - YUM).


While my hubby chooses English Crepes every single time!


Well, in case you can't make your mind up, I've included BOTH recipes for you to enjoy.

Pancakes   PRINT

 American Pancakes
Makes 6

Ingredients:
1 cup all purpose flour
2 tsp baking powder
pinch salt
2 Tbsp sugar
1 Egg
2 Tbsp oil
1 cup milk

Method:
Beat / blend together all the ingredients to a smooth batter.
Leave the batter to sit for at least an hour before cooking.
Pre heat a heavy-bottomed non-stick pan to a medium heat. Season the pan with oil.
Pour 1/3 cup into the middle of the pan.
Cook until bubbles open up and become set. Turn over and cook for 1 more minute.
Serve immediately with syrup of your choice, ice cream, Nutella & bananas or whatever else you can dream up.


English Crepes
Makes 8

Ingredients:
1 cup all purpose flour
1/2 tsp baking powder
pinch salt
1/2 Tbsp sugar
1 Egg
2 Tbsp oil
1/2 cup milk
1 cup water

Method:
Beat / blend together all the ingredients to a thin, smooth batter.
Leave the batter to sit for at least an hour before cooking.
Pre heat a heavy-bottomed non-stick pan to a medium heat. Season the pan with oil.
Pour 1/3 cup into the middle of the pan, then swirl the pan around to spread the batter into a wide circle.
Cook until the batter looks set and the edges begin to curl up. Turn over and cook for 1 more minute.
Sprinkle with sugar / cinnamon sugar and lemon juice. Roll.


* Both recipes can be increased by just duplicating the recipe. The salt will always just be a pinch though, albeit a slightly larger pinch, unless you are making huge quantities.


Happy Pancake Day!

Apricot Anglaise Danish {Recipe & Tutorial}


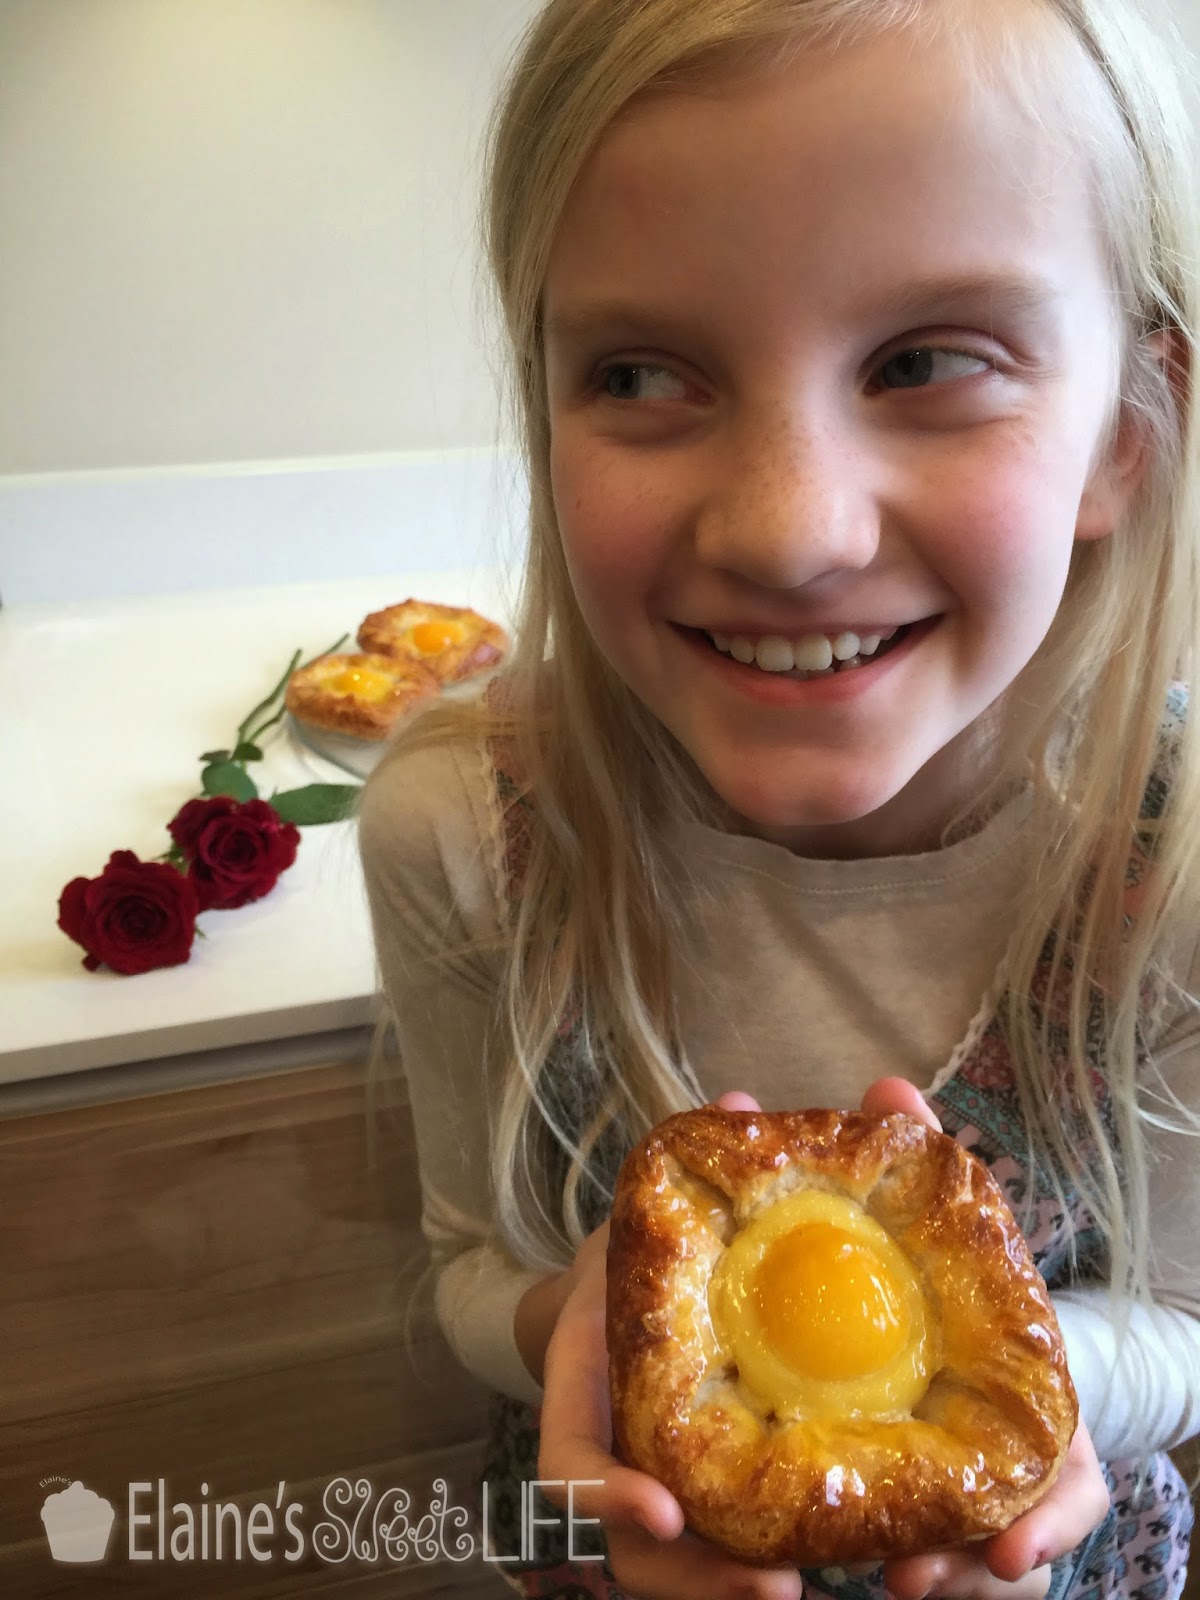
We had such a lovely Valentines Day. Not only did I get a dozen red roses from mu hubby, but he took me out, twice! Granted, lunch was only hamburgers, but he took me to Five Guys, who are reputed to have amazing burgers and chips, and they were pretty good. In the evening we went to a place called Banana Tree, serving Indochina regional style food. The food was amazing! We also took our Youth to a Valentines Dance, and my man and I got a few 'slow dances' in - the kids thought it was very cute ;)

Amongst all the busyness of the day, I made delicious Danishes for my family. While these are quite time consuming, they are not actually that difficult to make, and don't take all that much effort either. Most of the time consumed is in waiting for the dough to chill, rest and rise - and you can go off and do other things in that time. The smiles on the faces of your loved ones as the irresistible aroma of freshly baked goods draws them to the kitchen is all worth it!


Apricot Anglaise Danish   PRINT
Makes 8

The pastry dough needs to be prepared the day before baking.

Ingredients:

Pastry:
125 g bread flour
125 g all purpose flour
7 g instant yeast
30 g golden caster sugar
1/2 tsp salt
120 g unsalted butter - chilled
100 g unsalted butter - frozen
80 ml milk - room temperature
40 ml water - room temperature
1 egg

Custard:
250 ml milk
1 tsp vanilla
1 large egg
2 large egg yolks
100g caster sugar
25g cornflour

8 canned apricot halves
50g smooth apricot jam


Method:

Pastry Dough:
Put the flours, yeast, caster sugar and salt in a food processor and blend together. Cut the chilled butter into 1 cm cubes. Add to the dry ingredients in the blender. Pulse blend until the butter becomes combined with the dry ingredients, but the butter it is still visibly lumpy (these lumps contribute to the flakiness of the pastry).
Tip into a mixing bowl.


Pour milk and water over the flour/butter mixture. Fold it together until you get a very rough dough - the butter lumps should still be there. Tip out onto counter top and briefly knead into a ball of dough, then shape into a flat rectangle, wrap in clingfilm and refrigerate for 45 minutes.


Once chilled, roll the dough out (on a lightly floured counter) into a rectangle about 50cm long. Grate the frozen butter and spread it over the bottom 2 thirds of the dough. Fold the top third of dough down over the butter, then fold the bottom third (with butter on it) up over that again (like folding a letter into thirds).


Wrap in clingfilm and refrigerate for 30 minutes.


Once chilled, place the dough on a lightly floured counter. Press your rolling pin into the dough to spread it out and make it easier to roll.


Roll the dough out to a rectangle about 50cm long. Fold the top third down and the bottom third up.
Repeat the 'roll-and-fold' twice more.


Wrap the dough in clingfilm and chill overnight.

Custard:
The Custard can also be prepared the day before.

Pour the milk and vanilla into a saucepan and bring to the boil.

Mix the eggs, caster sugar and cornflour in a heatproof bowl / jug, to a smooth paste. Pour the boiling milk into the egg mixture while stirring, mix well. Pour the mixture back into saucepan and return to a medium heat, stirring constantly. Once the mixture begins to thicken, stir vigorously with a whisk. Allow the mixture to come to the boil and cook for 2 minutes (to cook out the raw cornflour flavour) while stirring. The custard should be very thick.

Place the custard into a bowl and cover with cling film, pressed to the surface of the custard. Allow to cool completely. Refrigerate if making it the day before.

Shape, prove, fill and bake:
Roll the dough out to a 25 x 50 cm rectangle.
Trim the edges straight, then cut into eight squares (each should be just smaller than 12 x 12 cm).


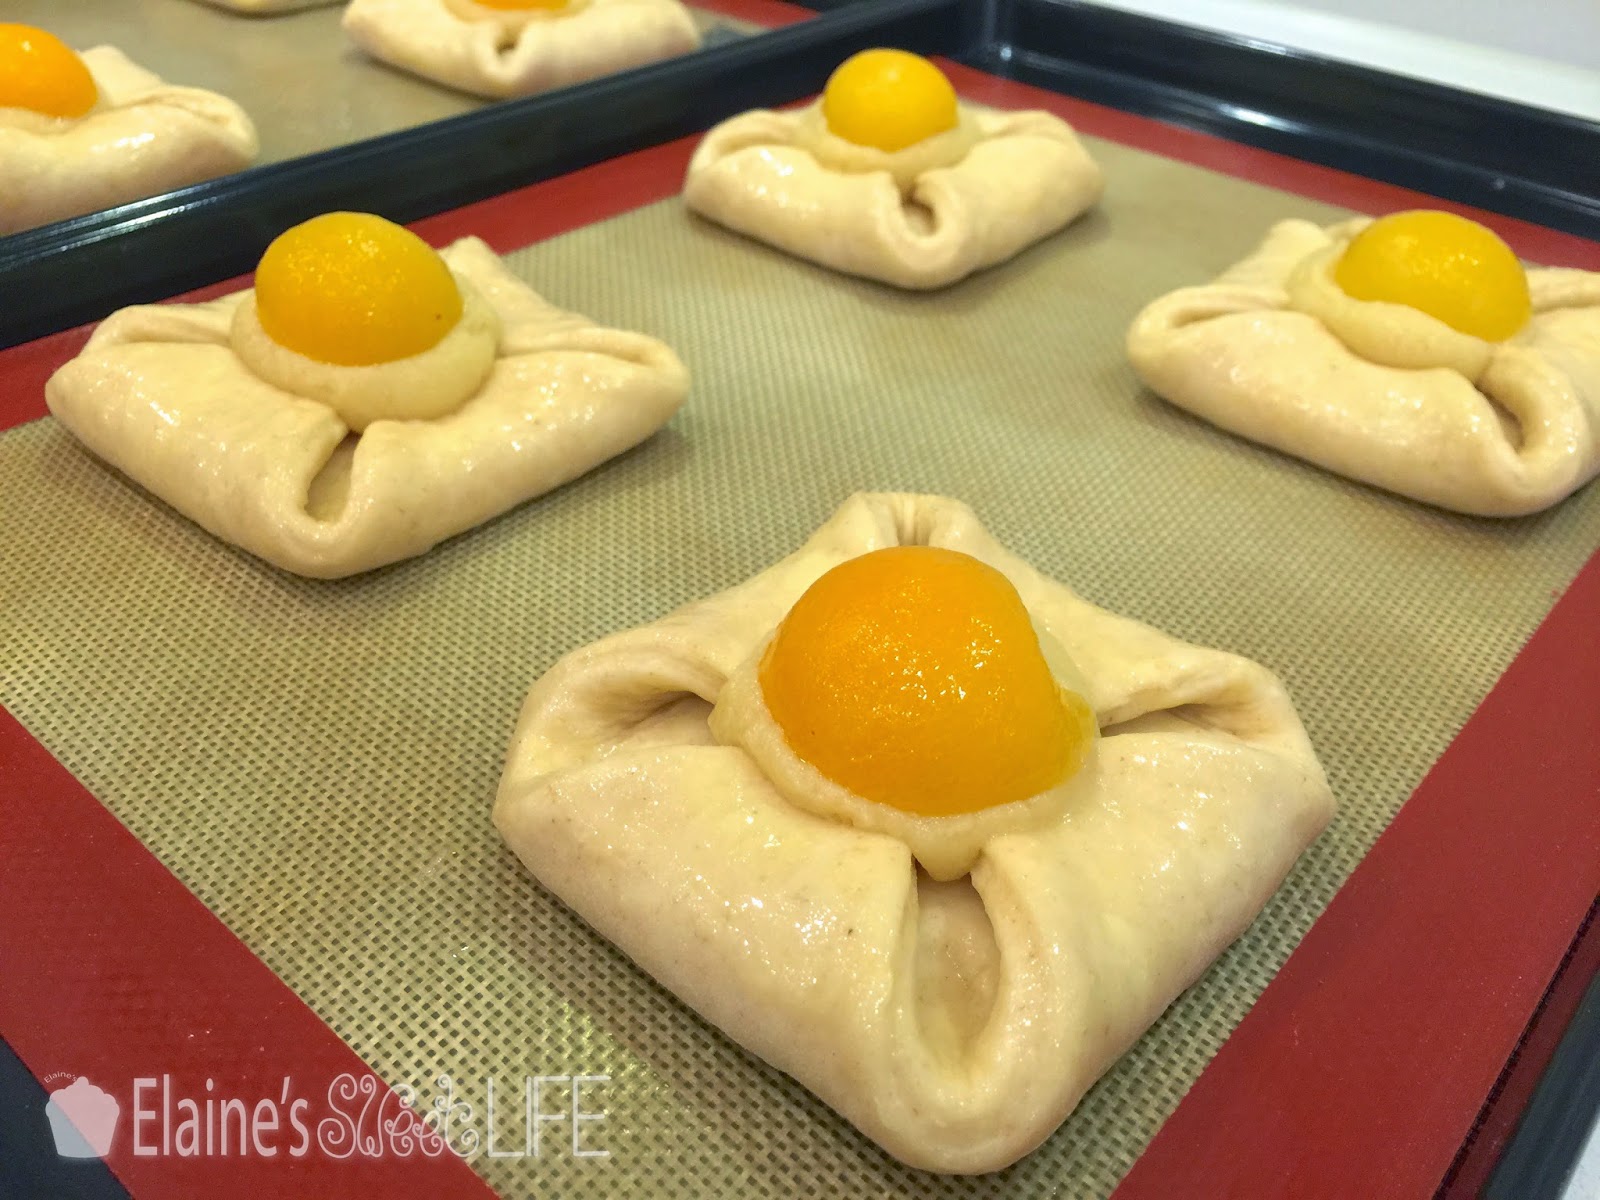
Fold the four corners into the centre of each piece and press to secure in place.


Cover loosely with clingfilm and leave to prove for 2-3 hours.


Once proved the pastries should look nice and puffy.


Preheat the oven to 200ºC (180ºC fan forced),

Get the custard into a piping bag.


Pipe a large round into the middle of each pastry. Place half an apricot onto each round of custard (cut side down).


Beat the egg and brush onto the exposed pastry.


Bake for 20-25 minutes until nicely browned.


Allow to cool for a few minutes on the baking tray, then transfer to wire racks to cool completely. 


Boil the apricot jam to get it really runny, then brush over the entire top of the pastries to glaze.


Happy Baking!