I used Modelling Chocolate for the very first time for my Medieval Dragon Cake and instantly fell in love. It is a wonderful medium to work with! I couldn't figure out how to buy it at a reasonable price in the UK, so I decided to make it myself.
Since I have been asked so many times how to make Modelling Chocolate, and since I am currently unable to bake because of my Bad Arm (I am still awaiting surgery, due any day now), I thought I would write a blog post about it.
Modelling Chocolate sets really quickly so that you don't have to wait ages between stages of modelling - it can all be done in one sitting! And if you aren't happy with something you've modelled, it's easily changed. Pieces can also be added on completely seamlessly, or you can cut bits off and smooth it over so that you'd never know. It also doesn't require much in the way of supports such as cocktail sticks (which I wouldn't recommend using anyway).
When I made the Medieval Dragon Cake (the dragon is entirely modelling chocolate over a body of cake and head and tail structure of RKT) the only non-edible parts were:
• a dowel to hold the head in position
• a few skewers to pin the tail in place around the castle, and
• a short skewer in each wing, purely used to firmly attach them to the body - the wings themselves are 100% modelling chocolate and support themselves.
Modelling chocolate is surprisingly strong and has an elastic quality that allows it to withstand a certain amount of knocks and bumps without breaking.
Medieval Dragon Cake - stands 26" tall
To make Modelling Chocolate, you will need the following:
500g White Chocolate
100g Corn Syrup (clear)
One large and one small microwave safe bowl
A silicone spatula
Plastic wrap
A hard surface to work on
Amounts of chocolate and syrup can be adjusted to however much Modelling Chocolate you wish to make, just keep the ratio of White Chocolate to Corn Syrup at 5 : 1 (in the photos I have actually used 125g chocolate and 25g syrup, but I do find the 500g as given above a better volume to work with).
I usually use cheap, store brand white chocolate and have had brilliant results, getting an affordable end product that tastes great and works well. In this tutorial I have used buttons - because they were left over from another bake. I believe candy melts can be used too, but I haven't tried them yet. They would be a great way to get pure white Modelling Chocolate, which would have been useful for the Christmas Nativity Tree I made last year, where I used fondant for all the white bits.
Before I figured out where to buy corn syrup (at my local Chinese Market), I used golden syrup, which worked fine. I find I have more success with Corn Syrup though (every now and then a batch of Modelling Chocolate flops for no apparent reason, I find that this has happened less since I have been using corn syrup, but that could just be because I have got better at making it).
Break the chocolate up into the large bowl, and melt in the microwave at 30 second intervals, stirring each time.
Keep going until most, but not all, of the chocolate has melted, then keep stirring, letting the heat in the chocolate melt the last few lumps, until it is all melted and is smooth.
Be very careful not to overheat the chocolate. The chocolate should now be warm to the touch, if it feels very hot, then let it cool a little.
Warm the syrup to just above body temperature, if it is too hot it will 'burn' the chocolate and your modelling chocolate will fail, rather let it cool a bit before using. If you want coloured modelling chocolate, add food colouring gel to the syrup and mix thoroughly. Colour can be added to the modelling chocolate after it is made, but it is difficult and very messy. Because modelling chocolate keeps so well and does not dry out the way fondant does, I usually make large batches of the colours I use often, as well as a set of basic colours which can then be mixed to get more colours. When a colour runs out, I just make a new big batch. This way I usually only end up making up one or two new batches of modelling chocolate for each new cake, rather than having to make up all the different colours I need every time.
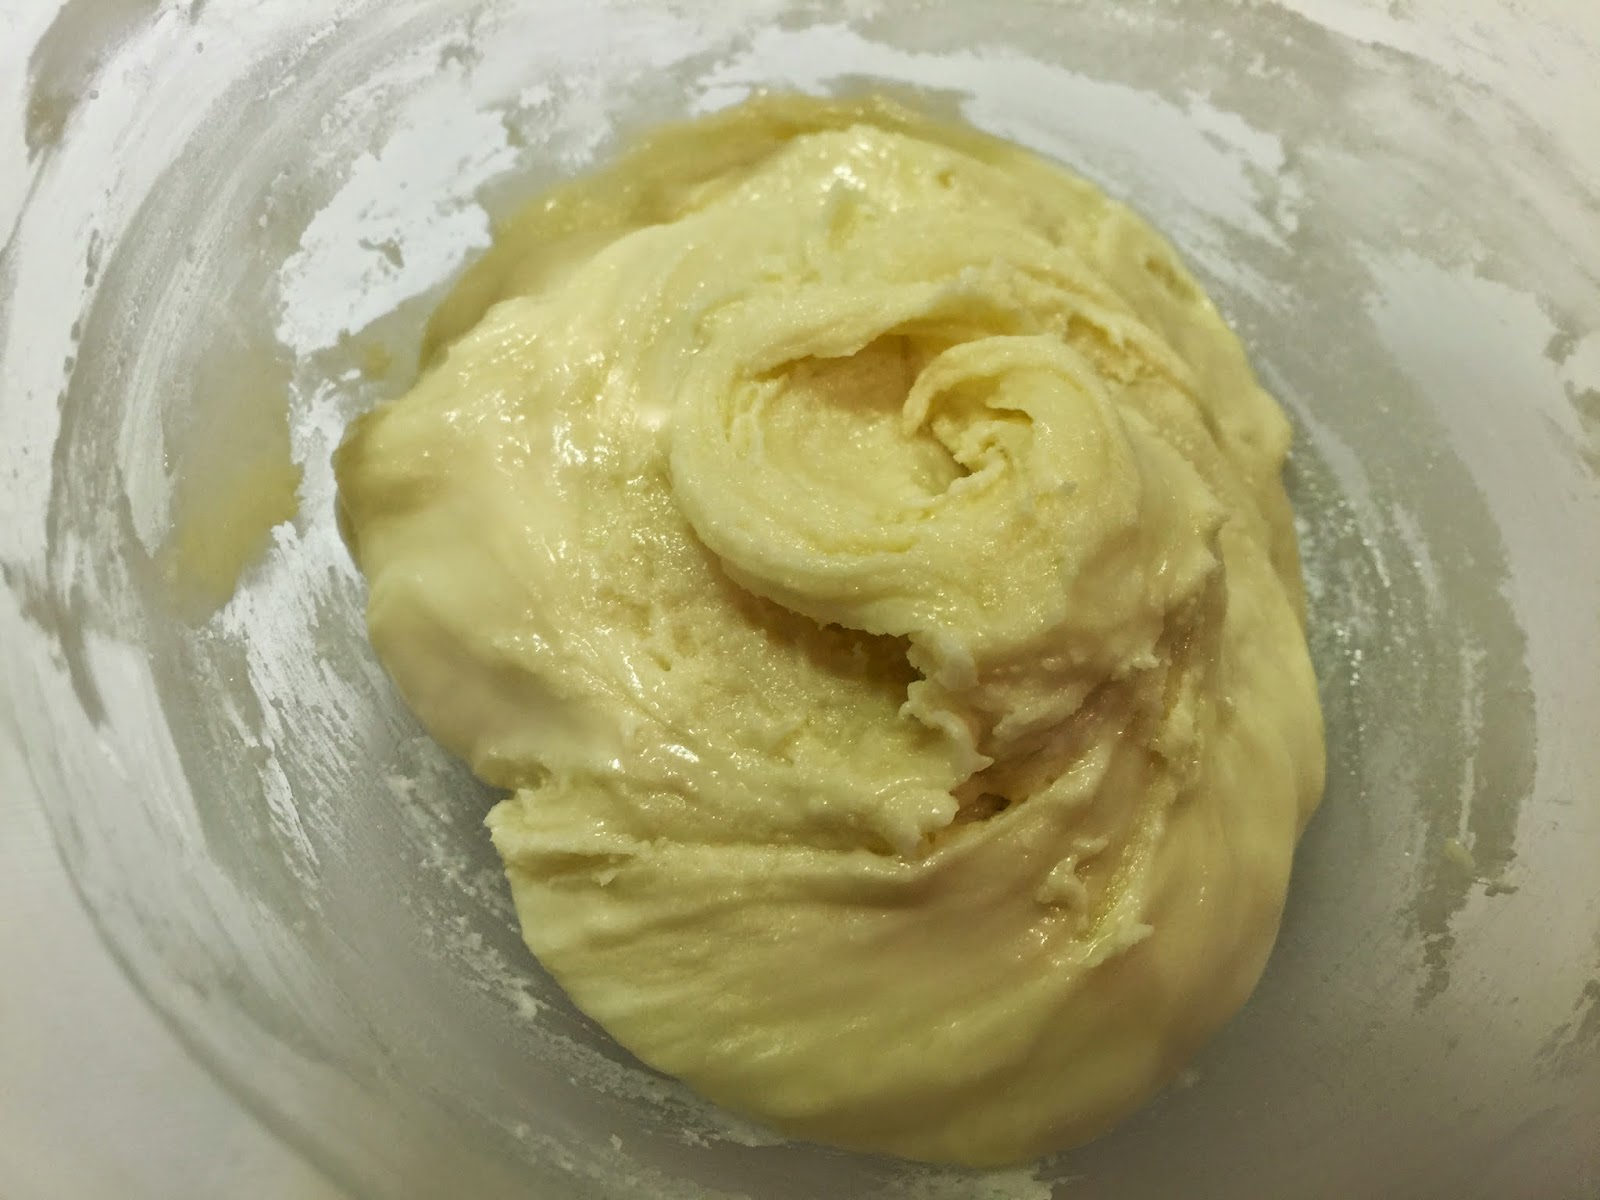
Pour the warm syrup into the warm chocolate and mix through quickly until combined and starting to thicken up.
Stop mixing immediately if it starts looking as though it is going to split.
Wrap in cling film, flattened out, and leave to cool thoroughly (not in fridge) for about an hour.
Once completely cool and set it should not be sticky, if it is, leave to cool a bit longer. Knead it until it is smooth in texture and has no lumps, it may become a little bit oily feeling at this point. Don't overwork it, just make sure you get all the lumps worked out. If you find you have some persistent lumps, warm it in the microwave for a few seconds, and knead them out.
Sometimes it can be a bit crumbly, just keep working it and it will eventually come together. If it is excessively crumbly, then you may need to adjust your recipe to include a bit more syrup - not all chocolates are the same, and may need an adjustment to the ratios of chocolate to syrup. Likewise, if the Modelling Chocolate is too sticky at this stage, the amount of syrup may need to be reduced.
Now wrap in a fresh piece of cling film and leave for a few hours / overnight to set.
Your Modelling Chocolate is now ready to use!
You will find that when cool, it goes completely solid. All you have to do is knead it until it becomes soft enough to work with. If it is really hard, you can heat it for a few seconds in the microwave to soften it just slightly, then knead it. But be careful not to overheat it, just a few seconds too long can melt and burn it.
When working with the modelling chocolate, don't let it become too warm, try to touch it directly with your hands / fingers as little as possible, using tools as much as you can. If a piece you are working on begins to feel oily, stop working on it (or it may develop little tears), let it cool down completely before working on it again.
If you find you are unhappy with a piece you have modelled, you can:
- warm it up a bit with your fingers and rework it
- cut a bit off then smooth it over
- add a bit on and smooth over the seams to make them disappear.
Modelling chocolate sets very quickly, meaning you can complete an entire figurine in one sitting. It is also strong and can support itself to a certain extent, for example in the making of limbs, without the need for supports like cocktail sticks or spaghetti (as long as you get a secure join). Pieces can be joined by warming the areas to be joined slightly, then working / rubbing one piece into the other with tools; or by using a bit of melted chocolate. For small details, just warming the bit to be added, with your finger, can make it sticky enough to join. Edible glue can be used, but because the chocolate doesn't absorb the glue, the pieces will only stick once the glue has dried fully.
Modelling Chocolate Recipe
500g White Chocolate )
100g Corn Syrup (clear) ) or 5 parts White Chocolate : 1 part Corn Syrup
Break the chocolate up and melt in the microwave at 30 second intervals, stirring each time. Keep going until most, but not all, of the chocolate has melted, then keep stirring, letting the heat in the chocolate melt the last few lumps, until it is all melted and is smooth. Be very careful not to overheat the chocolate. The chocolate should now be warm to the touch, if it feels very hot, then let it cool a little.
Warm the syrup to just above body temperature, if it is too hot it will 'burn' the chocolate and your modelling chocolate will fail, rather let it cool a bit before using. If you want coloured modelling chocolate, add food colouring gel to the syrup and mix thoroughly.
Pour the warm syrup into the warm chocolate and mix through quickly until combined and starting to thicken up. Stop mixing immediately if it starts looking as though it is going to split. Wrap in cling film, flattened out, and leave to cool thoroughly (not in fridge) for about an hour.
Once completely cool and set it should not be sticky, if it is, leave to cool a bit longer. Knead it until it is smooth in texture and has no lumps, it may become a little bit oily feeling at this point. Don't overwork it, just make sure you get all the lumps worked out. If you find you have some persistent lumps, warm it in the microwave for a few seconds, and knead them out. Now wrap in a fresh piece of cling film and leave for a few hours / overnight to set. It is now ready to use.
I hope you enjoy making and using modelling chocolate as much as I do!