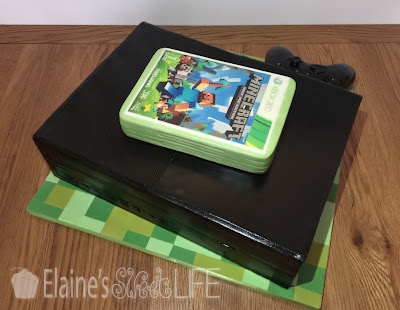
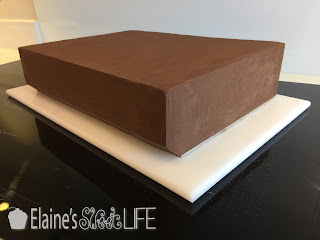
I have seen a few tutorials on making woodgrain with fondant or sugar paste, that use a similar technique, but I have refined it to a point where I am really happy with the quality of the result - a convincingly realistic wood look.
To start you need 3 shades of brown fondant. About half of your total quantity will be the lightest colour. Of the half thats left, one third is the darkest colour. There should be a very big difference in shade between the lightest and darkest colour for the best result. For a paler wood, tone the middle colour closer to the lightest colour. For a darker wood, the middle colour should be closer to the darkest colour. You also need a pot of dark brown food colour gel.
I used 1kg of ivory fondant and 500g of dark brown fondant. I split the dark brown in half, one half I left as is, the other half I mixed with about a quarter of the ivory fondant to get my middle colour. I darkened the remaining ivory fondant a little bit by kneading in some dark brown and yellow food colour gel.
Roll out all three shades of fondant into sausages of equal length.
Stack the sausages on top of each other, lightest at the bottom, darkest at the top.
Now paint a narrow line of dark brown food colour gel down the centre of the darkest colour fondant. Be quite generous, but don't leave any clumps of gel.
Grab the right end of the stacked sausages and fold it over by one third,
then fold the left side over that.
Press it together and roll into a long sausage.
Again, fold the right side over by a third,
then fold the left side over that,
and roll into a long sausage.
Repeat this process over and over again. I find I usually do it about 5-7 times, depending on how fine I want the woodgrain to be.
Don't twist the sausage at any point. You can fold the ends over in different directions, but keep the grain reasonably straight through the process for the best result.
This is what I ended up with after folding and rolling 7 times:
Cut the sausage into manageable sized pieces. The size depends on how big you want your wood panels to be. If you want very narrow panels, then work with smaller pieces and roll the sausage out thinner. I chose to make broad panels this time, so I left the sausage quite thick and split it in to 3 pieces. Wrap all all of the pieces you are not working with in plastic to stop them drying out.
Roll out one of the pieces,
always rolling along the grain. Use spacers to make sure every piece you roll out is the same thickness.
Trim off the untidy edges.
You want to roll the pieces out to just a little wider than you would like your panels to be. If you want narrower panels, make the sausage longer and thinner before rolling it flat. Bear in mind, any bits trimmed off can't be reused for wood grain, so you want to make sure you are trimming off as little as possible.
Measure out a piece long enough to go across the board (or to fit wherever you will be putting it).
and stick it down with edible glue.
Trim the edges to fit.
Cover ay left over pieces with plastic until you are ready to use them - they dry out really quickly!
Now repeat the process with the remaining pieces of sausage.
Exposed folds in the sausage form beautiful wood rings and knots.
Think about how you lay your wood panels out. What pattern do you want to follow?

I wanted my panels to have a small chamfered edge between them, so I ran a colour shaper down the joins.
Then I used a colour shaper with a sharper point to trace along the lines of the grain to give the wood a bit of texture and rough up the smooth surface a bit.
And that is it, so simple, but so effective!


