
This is the quilt I recently made for my son. It was really simple to make, and quick to assemble too.

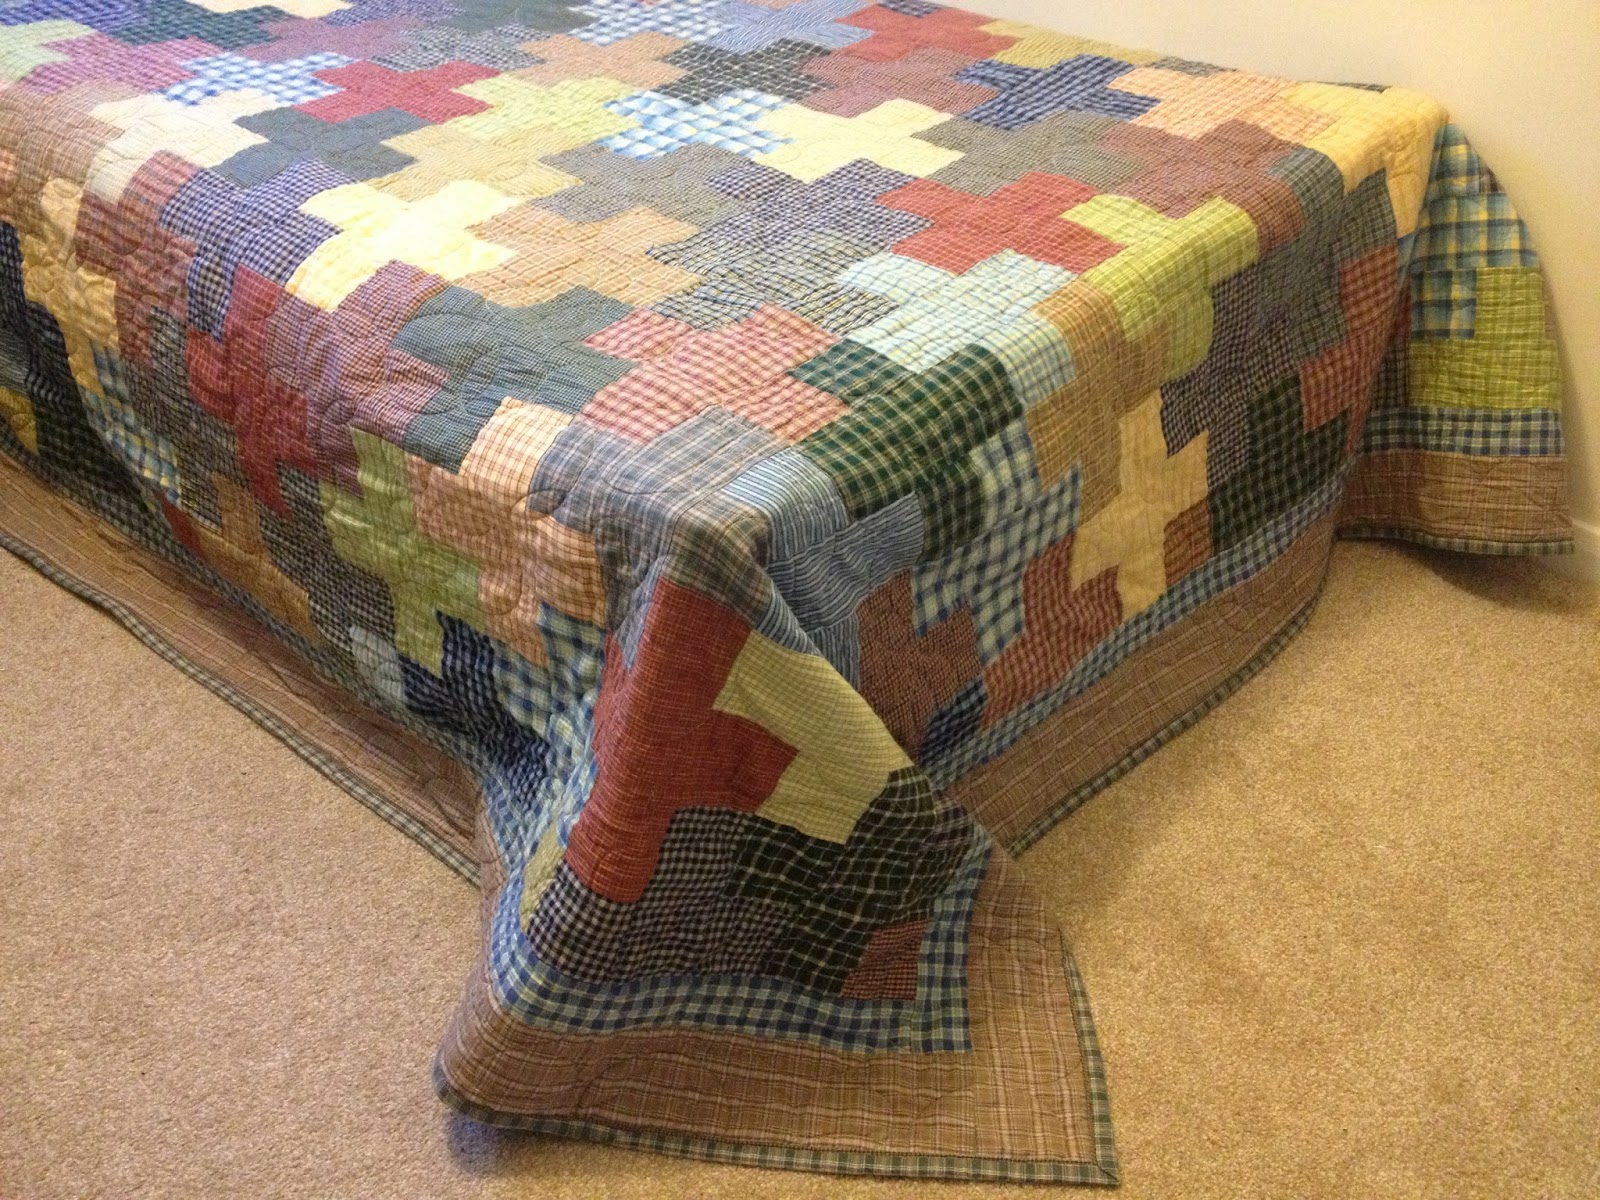
The finished quilt measures 84" x 84"
Fabrics:
For the crosses:
20 different fat quarters (mix of lights, mediums and darks)
For the borders:
1/2 yard dark fabric 2" border (cut 8 strips 2 1/2" wide)
1 yard medium or light fabric for 4" border (cut 8 strips 4 1/2" wide)
Dark fabric for binding (or 2 contrasting fabrics for machine stitched binding)
Batting and backing fabric
Method:
Start by cutting one of the fat quarters into 3 1/2" strips, so that you end up with five 22" x 3 1/2" strips.
Cut 4 of those strips into:
- one 9 1/2" piece
- three 3 1/2" pieces
Cut the last strip into:
- two 9 1/2" pieces


From 1 fat quarter, you should end up with six 9 1/2" x 3 1/2" pieces and twelve 3 1/2" x 3 1/2" pieces, enough to make up 6 crosses.

Now do the same for all the rest of the fat quarters.


Once that is done it is time to lay the quilt out. I like to lay mine out on a blanket, the same size as, or bigger, than the quilt I am making, this way the pieces stay where you put them. Start laying crosses down as pictured below:

All the 9 1/2" long strips should lay in the same direction. Use "partial crosses" to fill in the gaps around the sides. You will also need to cut down the 9 1/2" pieces to 6 1/2" along the very top and bottom edges of the quilt.


Once the whole top is layed out and you are happy with the balance of colours, it is time to pick it all up again! Start by labelling each column, using a post-it-note or piece of tape, on the first block. (There should be 24 columns if you have made it the same size as mine.)

Pick up the labelled first piece of column 1 and place it on top of the second piece below it (in the same column), then pick those two pieces up and place them on the third piece, and so on, until you have a neat pile of pieces, labelled with their column number on the top. Clip them together, and do the same with column number 2, and continue until you have 24 piles.

Now sew each of those piles into a long strip with a 1/4' seam, being very careful to keep them in the correct order. When done you should have 24 long strips, each with the numbered label at the top end. Iron each seam flat. Seams align better if, for all the odd numbered columns you iron the seams one way, and all the even numbered columns have their seems ironed in the opposite direction.
Sew all those columns together with a 1/4" seam, again, being careful to orient them correctly and in the right order. I don't pin before I sew, but rather make sure each cross seam is aligned correctly (where they match up), by stretching the fabric slightly and letting them 'click' into place (because the seams are ironed in opposite directions, they fit into each other very neatly).
Iron the whole thing so that all the seams are flat.
Finally add the borders, sandwich, quilt and bind (if you need further instructions for the borders or binding, please leave a message and I will add it on). For this particular quilt I sent it off to be quilted on one of those big machines. For the binding I used an AMAZING machine stitched binding technique, which can be found at 52 Quilts. It is a very quick way of professionally finishing off your quilt, and best of all doesn't require any hand sewing!

If you would like instructions for regular, hand stitched binding, adding the borders or sandwiching, please leave a message and I will add it on.

What an awesome tutorial - thank you so much! I will definitely be making this in the future.
ReplyDeleteThank you Karen. I hope you enjoy making it!
Delete