Showing posts with label South African Food. Show all posts

Monday, 6 October 2014

Buttermilk Rusks {Recipe & Tutorial}


Rusks are another favourite treat of anyone who grew up in South Africa. Every South African ExPat I have met over the years has agreed that Buttermilk Rusks (or Ouma Rusks, as they are known in SA) are one of the SA 'delicacies'  they really miss. After reminiscing with my South African friend as we prepared for an International Food Ward Activity, I decided that it was time I once again made some home made Buttermilk Rusks. And I thought I could share the recipe and tutorial with you lovely people while I'm at it :)

Buttermilk Rusks Recipe

Ingredients:

1250g flour
2 tsp baking powder
2 tsp bicarb
2 tsp cream of tartar
2 tsp salt
250g butter
2 cups buttermilk
1 1/2 cups Demerara sugar 
2 eggs
1 cup oil

Method:

Preheat the oven to 190°C
Grease a 10" square cake tin or 3 loaf tins (I recommend using loaf tins if you have them, as the dough bakes more evenly).

Have all ingredients at room temperature.

Sift together the flour, baking powder, bicarb, cream of tartar and salt into a large bowl.


Cut the butter into cubes


Rub the butter into the flour mixture until it resembles fine crumbs (see video below for technique).


In another bowl beat together the buttermilk, sugar, eggs and oil.


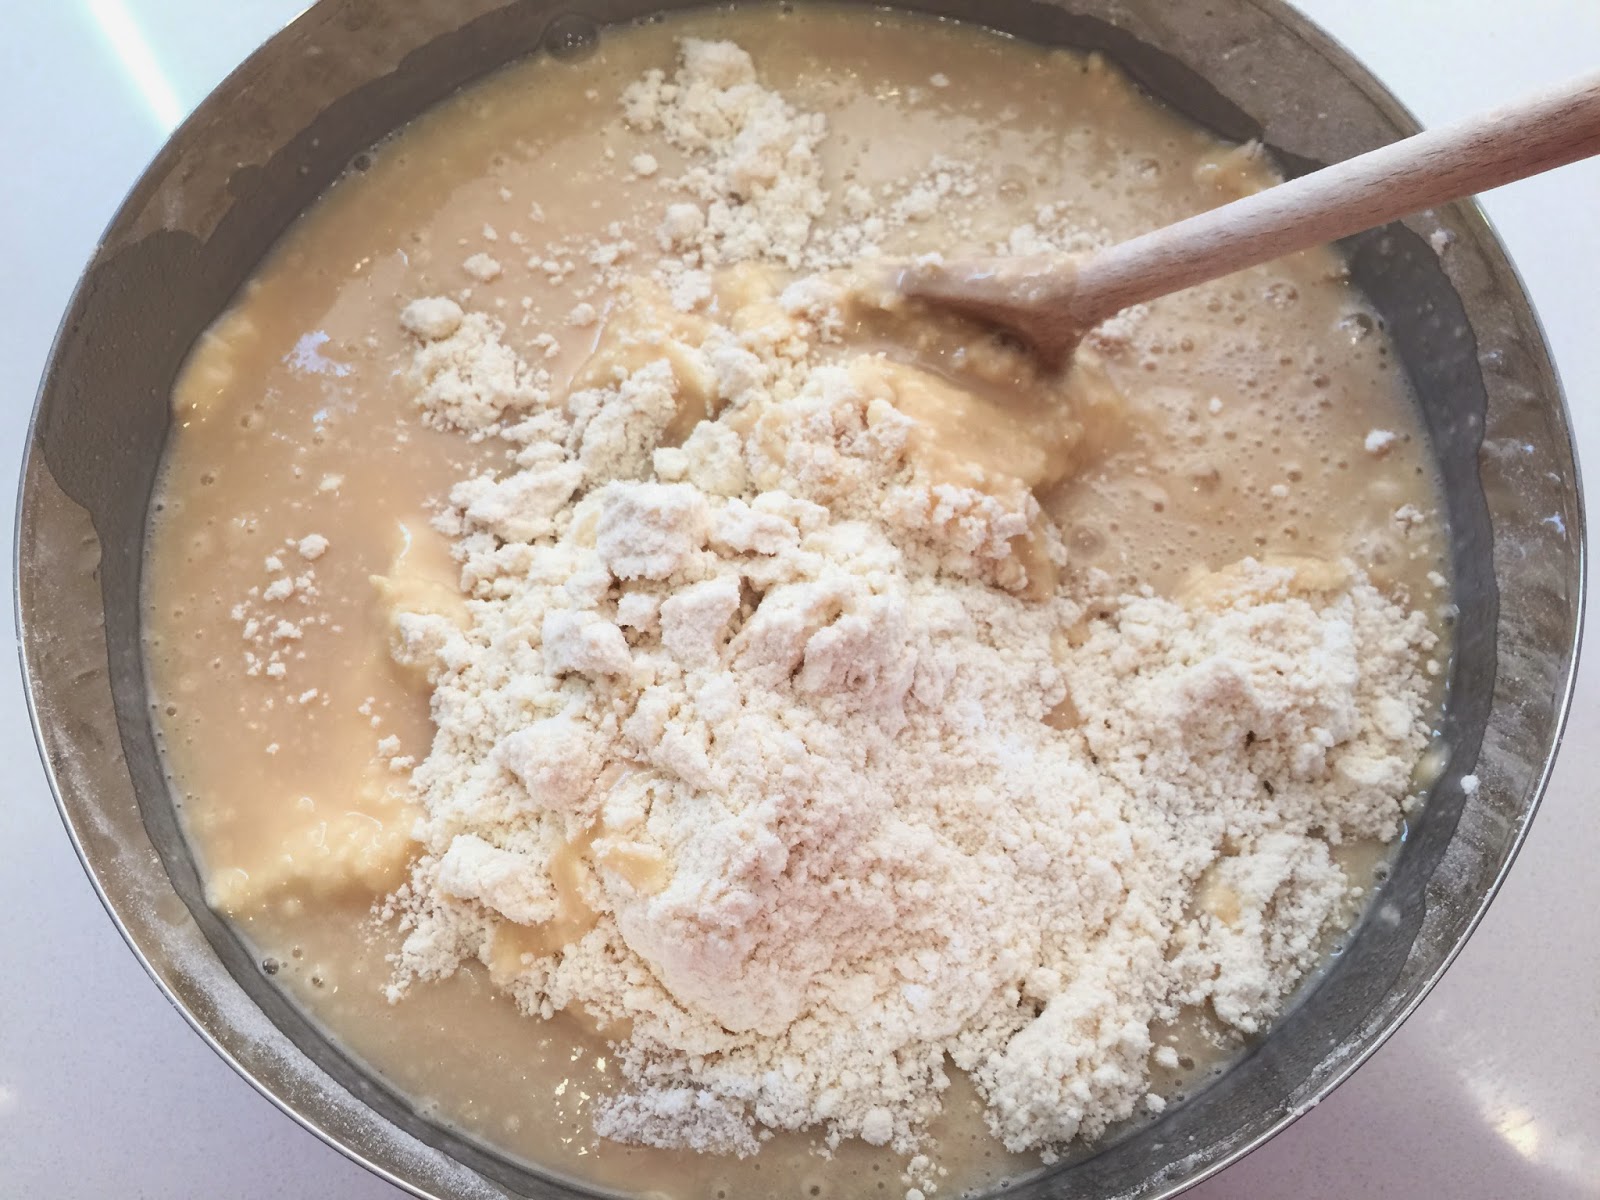
Pour the liquid into the dry ingredients,


mix until it all comes together into a rough dough,


then knead to a smooth dough.


Measure out balls of dough to a weight appropriate to divide the dough evenly into the pan/s you are using. I only have 1 loaf tin, so I used my 10" square cake tin instead. To make 7 rows of 7 balls of dough, I measured out 55g balls. For the loaf tins you would place the balls of dough 3x6 (50g balls) or 3x5 (60g balls), depending on the dimensions of your pans.


Roll the measured out dough into smooth balls and place in tight rows in the tin/s  - see video below for the technique.


Place in the pre-heated oven and bake for 45 minutes,


until they are browned on the top and the dough looks cooked all the way through (pull a couple of the 'balls' apart gently towards the centre of the pan).


Leave to cool in the pan for 20 minutes,


then turn out on to a cooling rack.


Once they are cool (after a further 20-30 minutes), gently pull the rows apart with your fingers.


Then pull those apart into individual rusks.


Lay them out on baking trays


and bake again at 100°C for 5-6 hours (or overnight - a little longer will do no harm).


When they are ready they will be hard and crunchy all the way through. They are delicious to eat on their own or dunked in a favourite hot drink. They can be stored for a long time in a sealed container, though ours have never lasted more than a few days!


Happy Baking!


Tuesday, 23 September 2014

Koeksisters {Recipe & Tutorial}


Koeksisters are a very popular South African treat. They are deep-fried doughnut-like pastries that are coated in a sweet, lightly spiced syrup. I haven't make them terribly often since I've been living in the UK, but every time I do they are polished of in no time at all. My friends love them!

The first thing you need to do is make the syrup. Now I can't stress this enough - you need to make it the day before you make the koeksisters, and let it get really cold in the fridge over night. I tried making it the same day once (put it in the freezer to try and speed up the cooling process), and lets just say, it wasn't good. If the syrup isn't really, really cold when you dip the koeksisters in, it crystalises and ruins the koeksisters completely.

OK, here we go!

Koeksister Recipe

Makes about 24

Syrup:


Ingredients:
1 cup water
4 cups sugar
1 tsp cream of tartar
1/2 tsp cinnamon
1/2 tsp ginger

Method:

Pour water into a large saucepan. Add sugar, pouring it into the centre of the water, then encouraging it to settle under the water. Add the cream of tartar, cinnamon and ginger. Do not stir. Bring the mixture slowly up to boil on a medium heat and simmer for about 10 minutes until it becomes syrupy. Remove from heat and leave to cool. Once cooled to around room temperature, cover and place in fridge to chill over night.

Dough:

Ingredients:
2 cups flour
2 tsp baking powder
1/2 tsp salt
90g butter or margarine
1 egg, beaten
90ml milk

Method:

Mix dry ingredients in a mixing bowl. Rub butter into the dry ingredients until mixture resembles crumbs. Add egg and milk and mix in well until a dough forms.

Refrigerate dough for about an hour.


Roll dough out to a thickness of 1/4" (I usually make double the recipe and then roll out small pieces of the dough at a time.)


Cut the dough into 4" x 1" strips.


For each strip: Cut up the centre, leaving about 1/2" uncut. Twist each 'leg' made twice to the right. Now twist the two legs (preserving the twist in them) twice around each other to the left. Brush a tiny bit of water on the end of the left leg then stick the right leg to it, sealing them together.


Once all of the dough has been cut and twisted, rest them in the fridge while you get ready for the next step.

Bring a large pot of oil (or a deep fat fryer) up to about 180°C. Split the syrup, that you've had in the fridge over night, into two dishes, one for dipping in while the other stays cold in the fridge. You will swap these dishes between each batch of frying to ensure the syrup stays cold.

Set up your work space so that you have kitchen towel to drain the koeksisters after they have been fried, one of the dishes of cold syrup and a clean dish to put finished koeksisters into.
Mine looked like this:


Now begin frying the twisted dough by gently dropping them into the hot oil.


You can fry a few at a time, just make sure there is enough space in the pot for them all to float flat on the top of the oil.


Turn them over in the oil every few minutes until they are a rich golden brown colour.


Remove them from the oil and place them to drain very quickly on some kitchen roll.


Then get them into the cold syrup while they are still piping hot. Turn them a few times to get well coated and let them soak for a few minutes.


Remove them from the syrup.


Swap the syrup you have just used with the cold syrup in the fridge, then repeat the whole process until all the koeksisters are made. Koeksisters are best eaten cool/cold and should be consumed within a day or two of making them, or the syrup begins crystallising. They can also be frozen very successfully (in fact, I have a friend who thinks they are best eaten straight out of the freezer!)


Happy Baking!