Tuesday, 25 November 2014

Macarons {Recipe}


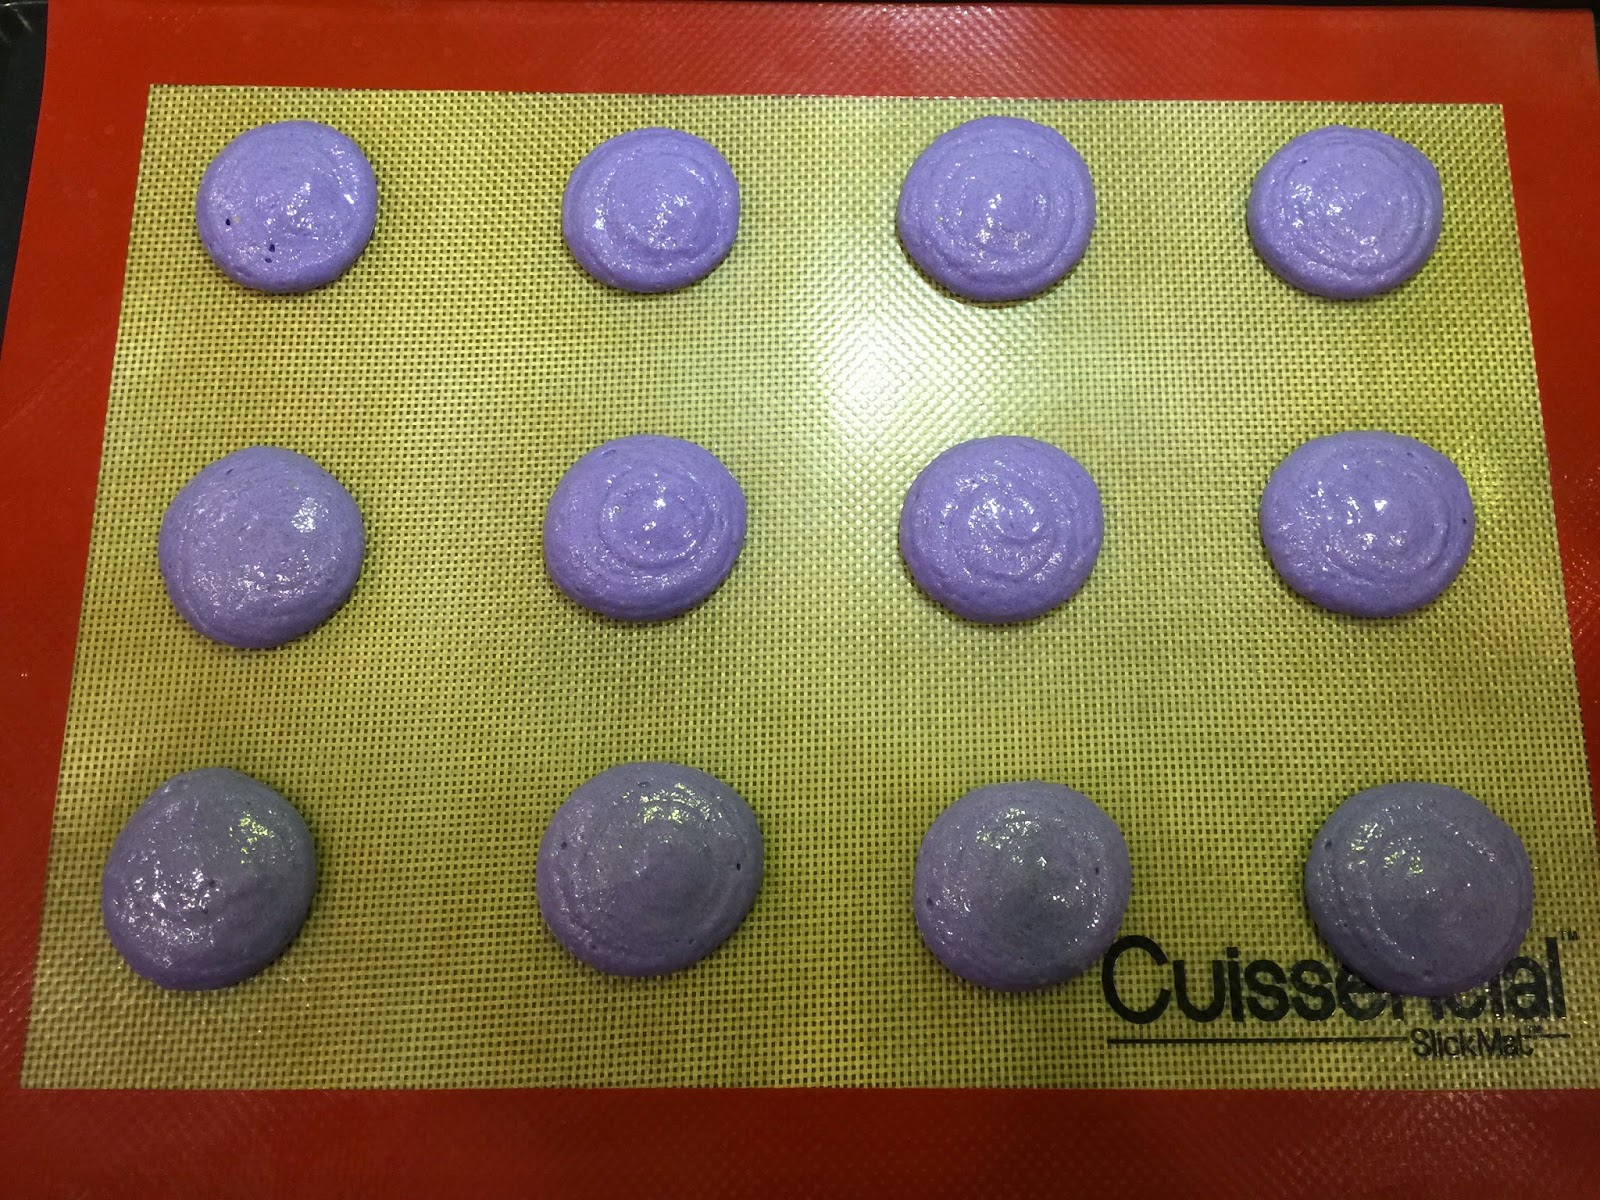
Macarons are something I try to bake every now and then, tweaking my recipe as I go. My first batch came out lumpy and dull with no 'foot'. I have gradually progressed to the point where I am happy with my recipe, just need to refine my technique a bit. My last batch came out looking beautiful (though not yet perfect) and they tasted brilliant!


If you would like to try and make some Macarons yourself, here is my recipe:

Macaron Recipe - click here for pdf

Ingredients
180g Icing Sugar

125g Ground Almonds

1/4 tsp Salt
3 Egg Whites

70g Caster Sugar
Food gel colour

Method
Preheat the oven to 160°C


Blitz icing sugar, ground almonds and salt together in a food processor.


Whisk egg whites to soft peak, then gradually whisk in caster sugar until thick and glossy. Add a few drops of food colour and whisk through.


Sift half of the almond mixture into the egg whites and fold in until well combined. Sift the rest of the almond mixture in and fold together until all lumps are gone and it looks smooth and glossy. The mixture should be thick enough to hold its shape when piping. Be careful not to over mix.


Scoop into piping bag with a 1/2" round tip, or a disposable piping bag with the tip cut off. Pipe rounds onto lined baking trays (line with non-stick baking paper, silpat or similar - don't use any fat).  Tap the tray on the counter to encourage air bubbles to rise to the surface. Use a damp finger to smooth down points from piping, as well as any other irregularities. 


Leave to stand for 20 minutes to allow a skin to form.

Bake for 15 minutes, until they can be easily lifted off the tray. Don't allow them to brown.


Allow to cool, then sandwich with filling of choice. I used a blueberry buttercream for these, but I think I prefer a ganache as it has a richer flavour.


Happy Baking!


Saturday, 22 November 2014

Caramelised Banana Ice Cream {Recipe & Tutorial}


I watch a LOT of cooking and baking shows on TV, and one of my favourites is MasterChef Australia! Well, last week my BFF was coming over to do some baking with me; the day before she was coming, she told that she'd really like to make some banana ice cream as well. That night I sat down to watch MasterChef Australia, and what did they make? BANANA ICE CREAM! I mean, what are the chances? I have never made banana ice cream before, nor had any desire to do so - banana ice cream just does not appeal to me at all. I love bananas, but can't stand anything banana flavoured. Yuk. But what I saw them do on MasterChef made me curious. So, using MasterChef as inspiration, I made caramelised banana ice-cream with my friend. And you know what? IT IS DELICIOUS!!


How to Make Caramelised Banana Ice Cream


You will need:

Ingredients:

2 Medium Bananas
150g Light Brown Sugar
200ml Cream
200ml Milk
1/4 tsp Cinnamon
1/4 tsp Vanilla

Equipment:

Baking tray lined with silpat or teflon sheet
Spatula
Silicone Spatula
Measuring Jug and spoons
Small bowl
Blender or food processor
Ice Cream Machine (or you can make it manually, using a ceramic dish pre-chilled in the freezer)
Storage Container for Ice Cream
Oven

Method:

Set oven to 180ÂșC

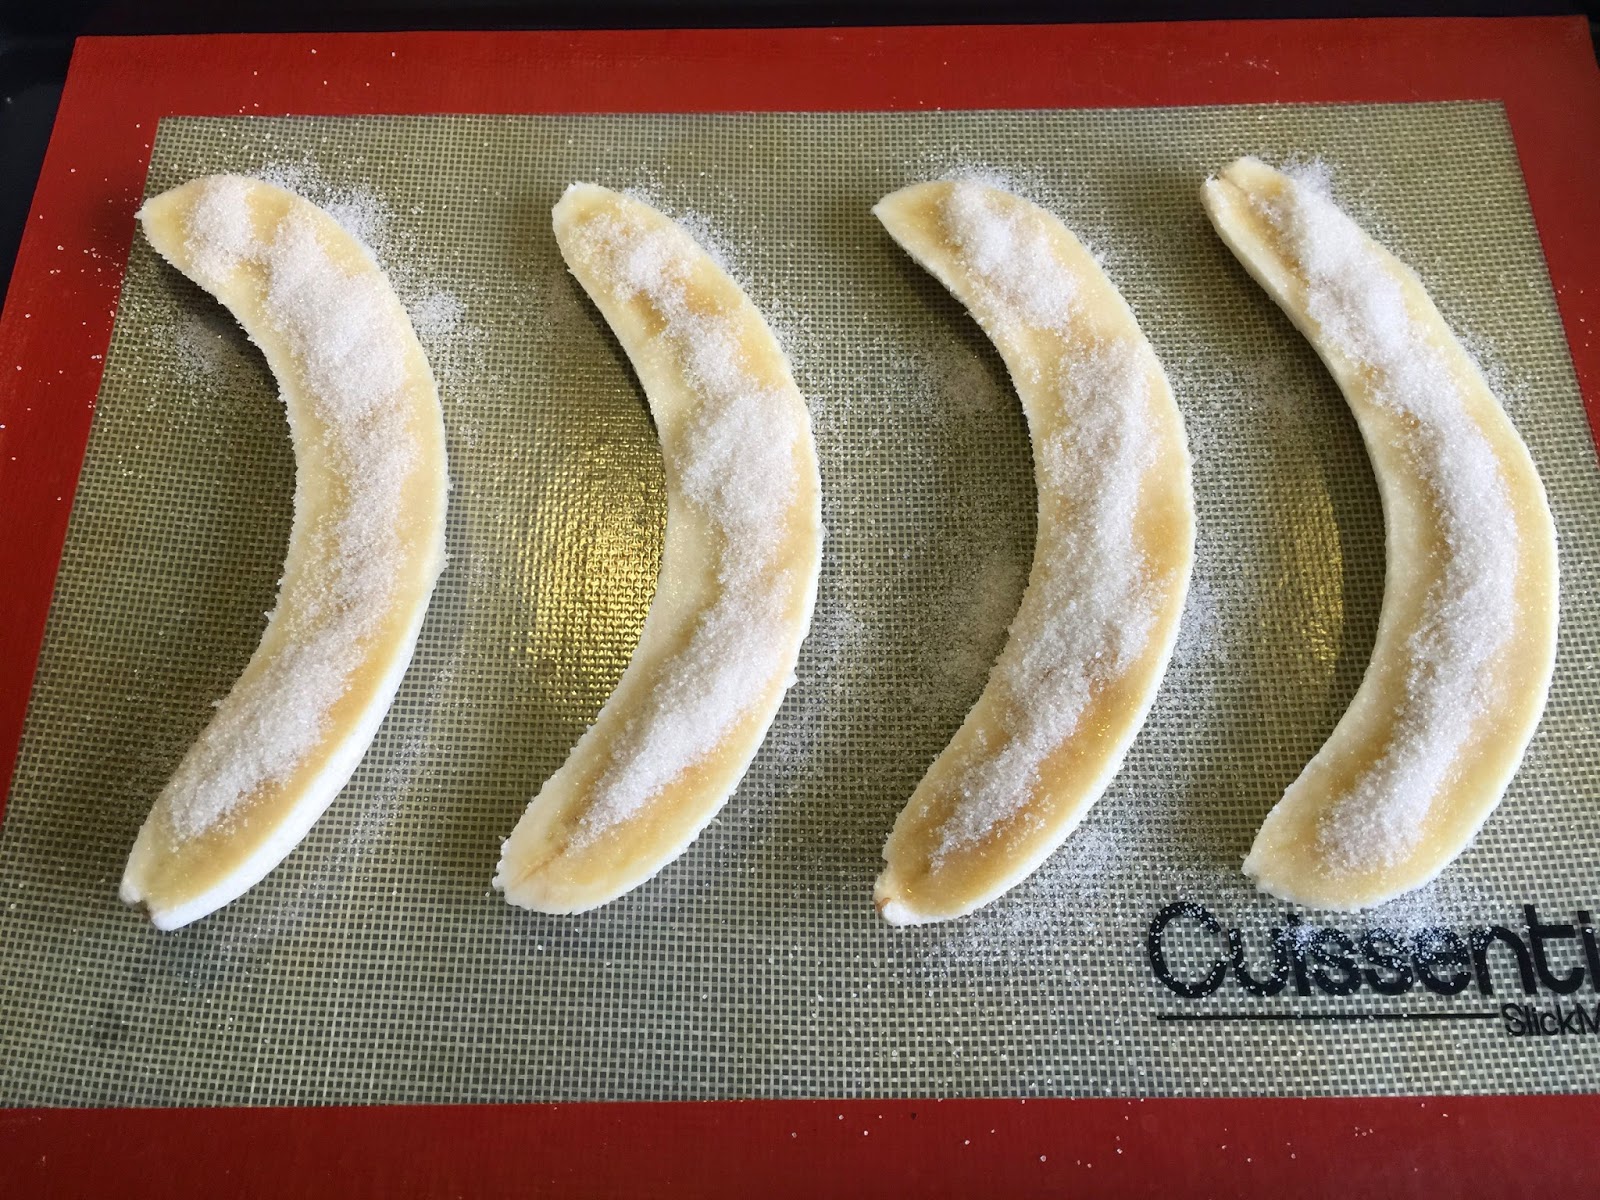
Peel the bananas and slice them in half lengthways. Lay them out on the lined baking tray, cut side up.


Sprinkle approximately 1/2 tablespoon of the sugar over each of the banana slices (~2 TBS total).


Bake in the oven for 30 minutes, until the sugar is nicely caramelised and the bananas looked a bit dried out.


Meanwhile, mix together the milk and cream.


Add the vanilla to the milk/cream mixture and add the cinnamon to the sugar.


Once the bananas and sugar are nicely caramelised and the bananas have lost some of their water content, remove them from the oven.


Scrape all the banana and sugar together with a spatula.


Add a little bit of the milk/cream to your blender (to stop the banana from sticking to the bottom),


then add the caramelised banana and sugar.


Blend until well combined.


Add the sugar and cinnamon,


and blend until nice and smooth.


Add the milk/cream a little bit at a time and blend between additions.


Once all the milk/cream has been added, the ice cream mixture is ready to churn.


Pour ice cream mixture into ice cream machine and churn (as per instructions for your machine). 


Once ice cream has frozen and thickened up to soft serve consistency, scoop into storage container and place in freezer until fully set.


Manual Instructions: Chill ice-cream mixture in the fridge or over an ice bath. Pour cold ice cream mixture into pre-chilled ceramic dish and put it in the freezer for about 45 minutes. Remove from freezer and mix it up vigorously and thoroughly. Place back in freezer and remix every 30 minutes until it reaches soft serve consistency. Transfer to storage container and keep in freezer until fully set.


Delicious with a drizzle of chocolate sauce!


Caramelised Banana Ice Cream Recipe - click here for pdf

Ingredients:

2 Medium Bananas
150g Light Brown Sugar
200ml Cream
200ml Milk
1/4 tsp Cinnamon
1/4 tsp Vanilla

Equipment:

Baking tray lined with silpat or teflon sheet
Spatula
Silicone Spatula
Measuring Jug and spoons
Small bowl
Blender or food processor
Ice Cream Machine (or you can make it manually, using a ceramic dish pre-chilled in the freezer)
Storage Container for Ice Cream
Oven

Method:

Set oven to 180ÂșC

Peel the bananas and slice them in half lengthways. Lay them out on the lined baking tray, cut side up.

Sprinkle approximately 1/2 tablespoon of the sugar over each of the banana slices (~2 TBS total).

Bake in the oven for 30 minutes, until the sugar is nicely caramelised and the bananas looked a bit dried out.

Meanwhile, mix together the milk and cream.

Add the vanilla to the milk/cream mixture and add the cinnamon to the sugar.

Once the bananas and sugar are nicely caramelised and the bananas have lost some of their water content, remove them from the oven.

Scrape all the banana and sugar together with a spatula.

Add a little bit of the milk/cream to your blender (to stop the banana from sticking to the bottom), then add the caramelised banana and sugar. Blend until well combined.

Add the sugar and cinnamon and blend until nice and smooth.

Add the milk/cream a little bit at a time and blend between additions.

Pour ice cream mixture into ice cream machine and churn (as per instructions for your machine).

Once ice cream has frozen and thickened up to soft serve consistency, scoop into storage container and place in freezer until fully set.

Manual Instructions: Chill ice-cream mixture in the fridge or over an ice bath. Pour cold ice cream mixture into pre-chilled ceramic dish and put it in the freezer for about 45 minutes. Remove from freezer and mix it up vigorously and thoroughly. Place back in freezer and remix every 30 minutes until it reaches soft serve consistency. Transfer to storage container and keep in freezer until fully set.

Friday, 21 November 2014

Gingerbread Nativity {Tutorial}


I made this Gingerbread Nativity Scene last Christmas and have had a few requests for a tutorial, so here it is! If you have never made anything like this before, please be sure to read through the WHOLE tutorial before you start making it yourself.

The Pattern Pieces
Click on the image or link to download the PDF for each page of the pattern. Each page is one A4 page - the Nativity Scene I made last year was bigger than the pattern given (I scaled it down so that the biggest piece fit the A4 page), so feel free to scale it up a bit. Cut all the pieces out along the thick lines.


The Dough
Use my Gingerbread dough recipe, found HERE. I believe I made double the recipe, but please forgive me if I'm wrong - it was a year ago! Add a little bit extra flour to the dough so that it makes a sturdier dough. Roll out the dough to 1/4" or 6mm and carefully cut out all the pieces - following the thick lines on the pattern pieces (the ones you cut the pieces out on).


Space the dough pieces onto baking trays lined with baking paper/silpat/teflon sheets, leaving about an inch space between pieces. Refrigerate for at least an hour. Bake according to the recipe, one tray at a time, until they are nicely browned - you want crunchy gingerbread, not chewy (but also not burned)!

As each tray of gingerbread pieces comes out of the oven, transfer them onto a chopping board, lay the pattern pieces over the corresponding gingerbread pieces and trim all the straight edges with a sharp non-serrated knife so that they once again match the pattern pieces (for Mary & Joseph, the manger, sheep and trees, that would just be the bottom edge; don't worry about trying to trim around the star). At this point you can trace the details from the pattern pieces onto the still hot gingerbread - just place the pattern piece on top of the gingerbread and trace over with a toothpick, leaving light grooves in the gingerbread, which you can then follow, later, when icing.

Leave the pieces on a flat surface to cool (not a cooling rack), until they are completely cool to the touch, then move to cooling racks and leave overnight. If the pieces still feel a bit soft the next day, return to the oven at a low temperature for a while to dry them out until they are nice and firm. If you try to assemble the Nativity Scene with 'chewy' gingerbread, it will sag and break.


Decorate
Make up a batch of white royal icing - I love Sweetopia's Recipe! Decorate each piece of gingerbread, using the details on the pattern pieces, and my Nativity Scene as guidance. Have fun, try out different patterns and textures :) The whole thing could be iced in full colour too!

For the Background piece (the piece with the doves and donkey on it), first ice the arch, let it dry, then add the animal's  silhouettes and rafter. Finally, go over the rafter again, outline the arch and add details to the animals.


On many of my pieces, I iced a base of white first, then added detail once the base had dried.


Assembly
Using royal icing, attach 'Stand' pieces to the back of the Background piece and the trees. Prop them up at 90Âș and make sure they are flush with the bottoms of the pieces. Leave to set.


Once set, attach the Background piece to the oval Base piece, using royal icing - set it as far back on the Base as possible, and slightly to the left of centre. Leave to set.


Next, attach the Star piece, gluing it onto the background with royal icing. Leave to set.
Add the Roof and Mary & Joseph. The roof will need holding in place for a while, until the royal icing has set enough to support it. Attach Baby Jesus to Mary & Joseph.
Attach the trees to the Base, so that they are in the foreground. Leave to set.
Attach the sheep to the base and the trees.


Your Nativity Scene is now done. I hope you had fun!