Showing posts with label Rainbow cake. Show all posts

Thursday, 23 March 2017

Rainbow Cheesecake and Persian Fairy Floss


So, my daughter requested a cheesecake for he birthday (the actual day, not her party), so I decided to be ambitious and make a RAINBOW cheesecake. This was actually only the second baked cheesecake I have ever attempted, so I am quite delighted with the result (the first one was not pretty at all!)


To make matters even more complicated, a friend posted a video of a Unicorn Cheesecake (by Cake Style) on my FaceBook wall the other day, and I just LOVED the Persian Fairy Floss on top, so I just had to try and make that too (as you do).


My floss didn't quite turn out right, but it looked pretty and tasted delicious! It created a lovely contrast in texture when eating the cake.


The cake itself wasn't perfect either, I believe it could have done with a little bit more time in the oven. It sure was pretty though! And tasted divine, very light with a delicate (not too cheesy) flavour.

I managed to get a hole in my tin foil, and a little bit of water got in, so there was a bit of a soggy base and cake collapse on the one side (though not too bad). I will double wrap next time.


Persian Fairy Floss (Pashmak).

I used a video tutorial by Henrys HowTos to make my Fairy Floss.

Attempt 1:
Syrup looked OK, but crystallisation set in when cooling and the entire puck clouded up.


Attempt 2:
The syrup was perfect, but I still got some crystallisation in the very centre. I tried pulling it anyway and it was promising to start with, but then didn't go well. Only managed about 4 folds.


Attempt 3:
Again, my syrup was good, but before the puck was cooled properly I could see some crystallisation happening! I quickly scooped out the crystallised bit (it looks like it forms on the thin pouring ribbons right at the end of the pour) and worked the bit of sugar that looked OK.


It was going so well! But my technique needs work. After about 7 folds my strands kept breaking until I couldn't work it in a loop anymore. I pulled it a few more times as straight strands, but the ends started clumping together and the strands were becoming more and more uneven. It was a really good attempt though. I thought, if I gave it one more shot, I was sure to get it right!


Attempt 4:
Well, it was an utter disaster. Apparently my sugar thermometer decided to stop working! It said that my sugar was about 10 degrees away from where I needed it when suddenly I noticed a burnt sugar smell and the sugar started going brown. Sigh. Oh well, I'll try again another day...


Happy Birthday Karate Girl!!


Friday, 3 April 2015

Rainbow Art Party


My little girl is very artistic, and will spend hours every day drawing and creating. This year she decided she wanted to have an Art theme for her birthday party. As we started coming up with various ideas for the party, we decided that we would pair the Art theme with rainbows as well, as we thought it would make for a very bright and cheerful party.


The cake is gravity defying, with rainbow cake in the paint can as well as the cake itself. The sponge is filled with vanilla icing, then covered with milk chocolate ganache and fondant.

Natasha decorated the white fondant by drawing all over it with edible markers, before I added all the 'spilled paint'.


For about 2 weeks before the party we were busy making all the bright, rainbow coloured decorations to hang around the room:
  • Paper rosettes spelling out NATASHA
  • Paint spattered table cloths

  • A balloon wreath
  • A melted crayon canvass 
  • Polka dot bunting (made by sewing card circles together to make a long string)
  • Rainbow balloons hung from the ceiling

  • And a piƱata (ribbon pull type)

The party food was also rainbow coloured (wherever possible).
  • Rainbow jelly (jello) push pops
  • Rainbow fruit and veg
  • Rainbow coloured candy paint pots

We even had rainbow coloured plates and straws.


All sitting in a row at the back of the table, you can see the party 'bags' for the guests to take home. Each pot contains a little pipe cleaner craft project (to make little monsters) and some candy.


You can certainly tell that there is a party going on in there!


Once the party got going, we had plenty of fun activities and games to keep the kids busy. We started off with some 'cookie canvas' decorating. Each child got a large royal icing covered chocolate sugar cookie to decorate, using edible markers, rainbow coloured royal icing and various sprinkles. They made some really beautiful works of art!


Next up, we played a series of team games.
First, each team had to work together to see who could build the tallest marshmallow tower, using toothpicks (dyed rainbow colours, of course) and marshmallows,


In the second game, each team was given a white paper plate and a lot of little coloured stickers. The aim of the game was to completely cover the top of the plate in stickers, so that there was no white left shoeing at all. The winner being the first team to completely cover the plate (we then judged who came 2nd and 3rd by coverage).


The third team game was a drawing game. We had prepared a stack of cards for each team, with the names of objects on them, like Lion, Car, Octopus, Surfboard, etc. Each member of the team had to draw a card and look at it, but not let anyone else know what their object is. They then had to start drawing that object. After 15 seconds the clock stopped, and they had to pass their drawing to their team mate on their left (receiving one from the right at the same time). The clock started again and they had to continue drawing the picture now in front of them (but of course they don't know what it is supposed to be - hopefully the previous player left enough clues in what the drew), again with a 15 second time limit. This continued until the drawing once again found itself in front of it's original player. A point is awarded for every drawing that resembles what is was meant to be. As you can see, there were some very humorous results!


The "Marshmallow Girls" won the team games and each received a medal.


Then it was time to sing HAPPY BIRTHDAY!


 Followed by pulling the piƱata ribbons - the birthday girl managed to choose the winning ribbon!


We concluded the party with 2 more activities. Sand Art, made using salt coloured with chalk (I crushed the chalk, then blended it into the slat in my MagiMix).


 And canvas painting - each child was given a small canvas, with there name on it, to paint.


It was a very successful party, the kids had a lot of fun, and were kept busy every moment.


Thank you to Claudette, who sacrificed her whole day to help with both setting up and running the party as well as cleaning up afterwards. You are the best!

Friday, 12 September 2014

Rainbow Cake {Recipe}


A friend asked me if I would teach her how to make a cake for her daughter's birthday. She wanted a cake that was not too difficult to make for a novice baker, and one that her little girl could get involved with too. 


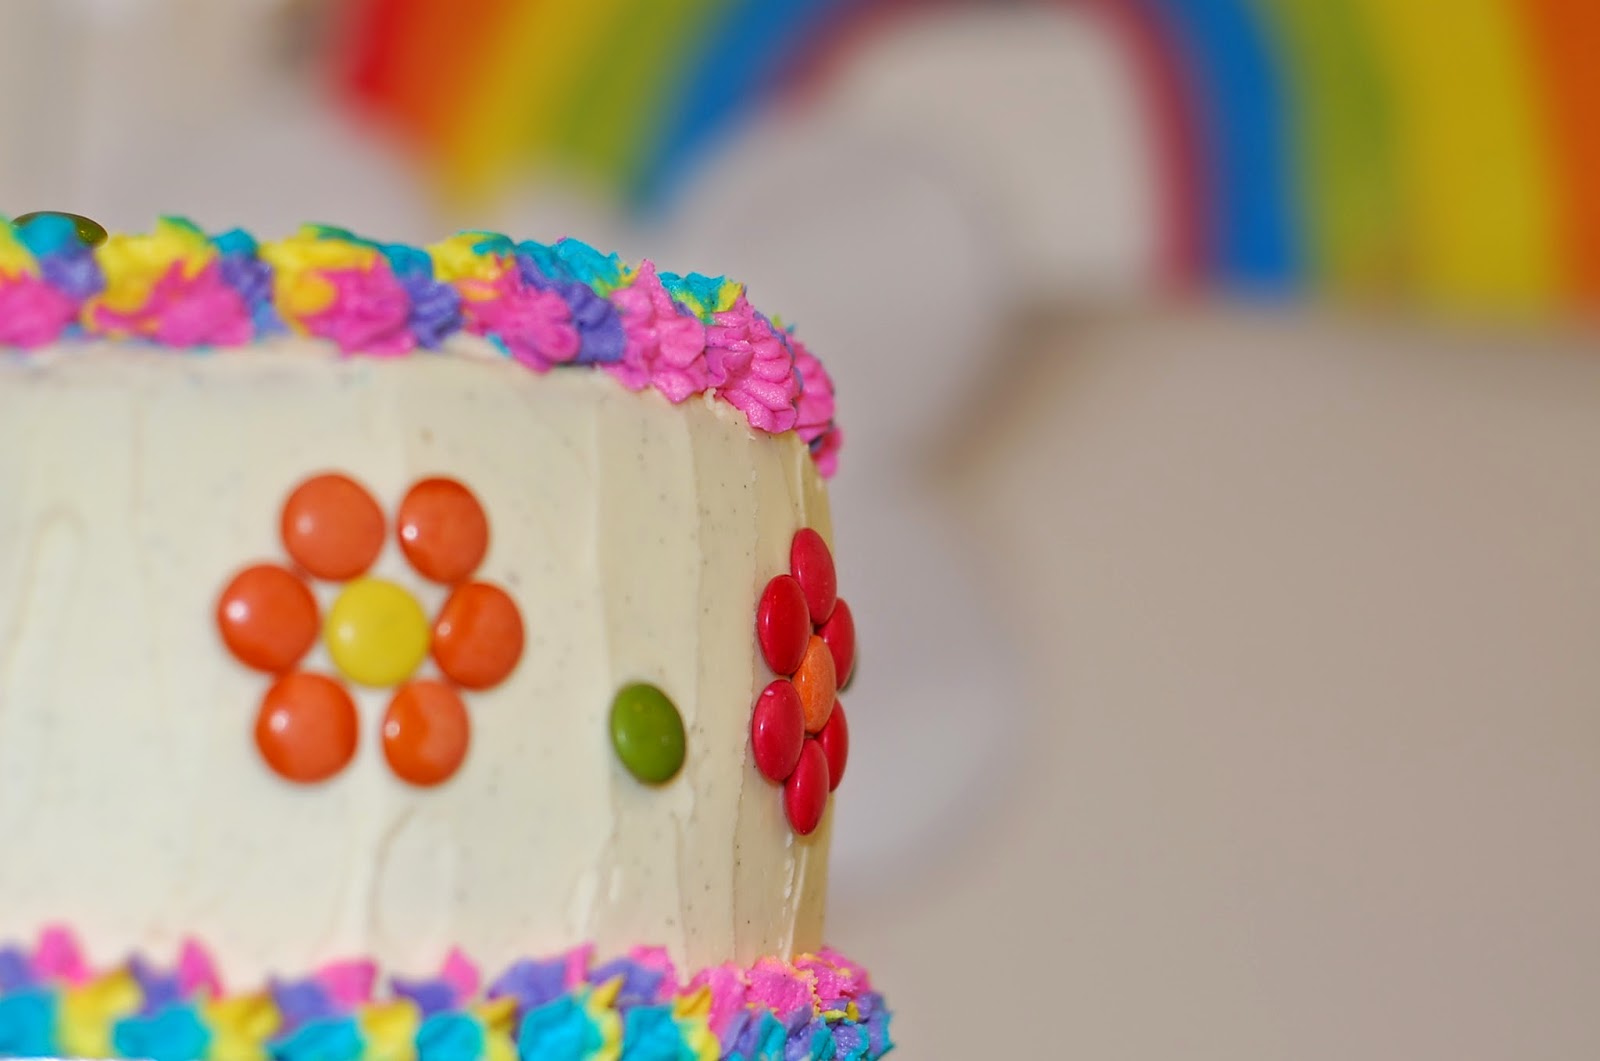
We decided to make a 4 colour rainbow cake (recipe below), covered with white buttercream icing as a canvass for her daughter to stick candies into as decoration.


The rainbow piped trim hints at the surprise hidden inside.


Everyone was delighted when the cake was cut open and the brightly coloured sponge was revealed.


We also got the children at the party involved in a bit of baking - they each got a ball  dough to roll out, cut and decorate, to make their own gingerbread cookies (recipe).


Vanilla Sponge Rainbow Cake Recipe

Makes 9" cake.

Ingredients:

300g butter or stork Marg
2 2/3 cups (590g) caster sugar
6 eggs, beaten lightly
4 tsp vanilla
600g plain flour, sifted
3 tsp baking powder
1/2 tsp salt
1 ¾ cups (440mL) milk


Method:

Preheat oven to 160°C/ 140°C fan forced.

Grease and line two 9" cake pans.

Beat butter and sugar in electric mixer until light and fluffy.
Add eggs and vanilla and beat until well combined.
Whisk together the flour, BP and salt in a separate mixing bowl.
With mixer on low speed, add flour and milk to butter mixture alternately 1/3 at a time, each time mixing until just combined.

Evenly divide cake mixture into 4 or 6 bowls (depending on how many colours you want in your rainbow).
Add a few drops of different coloured food gel to each bowl and mix well.


Pour two of the coloured batters into the two prepared cake pans (one into each pan). Cover the remaining batters with cling film so that they don't dry out.
Bake for 20-40 minutes or until a skewer inserted into the centre comes out clean. The cake will also just have pulled away from the sides of the tin when it is done.
Leave cakes to cool in the pans for 10 minutes, then carefully turn out and leave to cool on cooling racks.
Clean cake tins, then grease and line them again. Bake the next two colours as above. Repeat until all the colours are baked.

Once all the sponges have cooled thoroughly, sandwich them together with layers of buttercream icing. Cake can be left 'naked', covered in buttercream, or crumb coated with buttercream then covered with fondant.

{Tutorial} to follow.